Windows Explorer is one of the essential elements of your system, and if Windows Explorer keeps crashing, you’ll have difficulties accessing files and folders on your computer. While occasional crashes may not be too much of an issue for you, but if Windows Explorer keeps crashing too often, it’s an issue that requires a serious look into.
Unless you know what’s causing the issue, you can apply some of the standard fixes and see if they help fix the Explorer from crashing anymore. There are actually a number of ways to try and fix it on your Windows computer.

Contents
Update Your System
If your computer is running an old version of the operating system, that’s perhaps why the Windows Explorer keeps crashing on your machine. An older version often has bugs and issues that have been fixed in the newer ones.
Updating your computer to the latest Windows version should fix the issue for you.
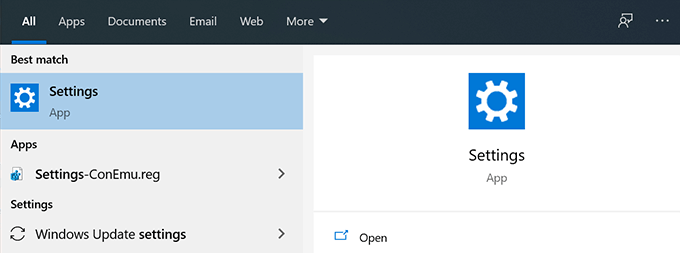
- Search for the Settings app using Cortana search and open it on your computer.
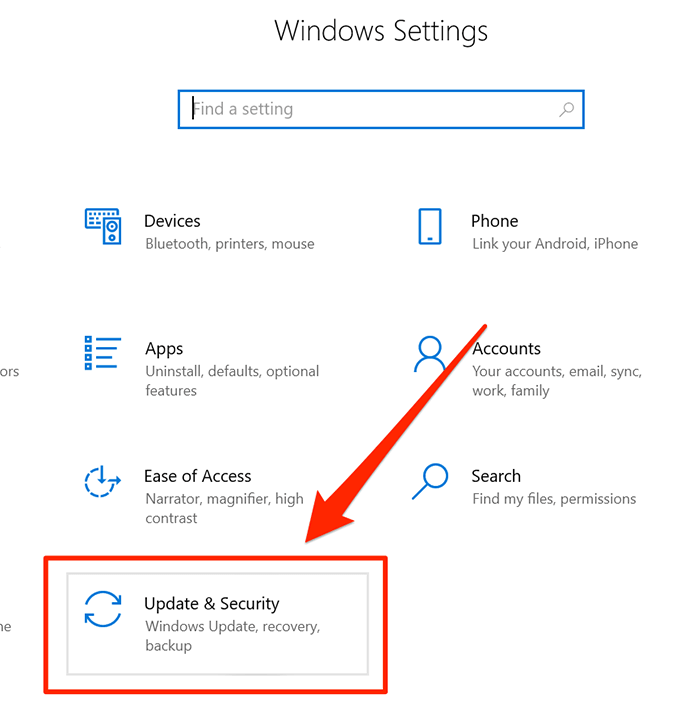
- Click on Update & Security on the following screen.
- Select the Windows Update option from the left sidebar.

- Click on Check for updates on the right-hand side pane.
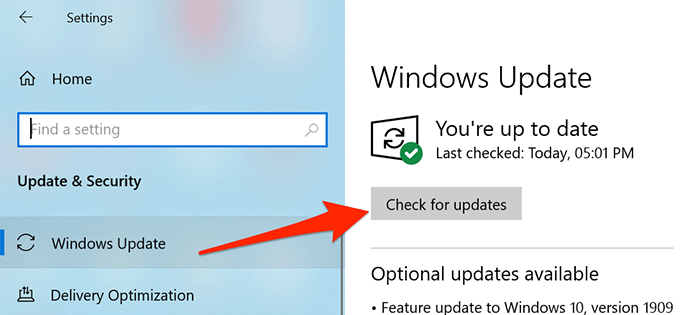
- If any updates are available, get them installed on your PC.
Clear Windows Explorer History On Your Computer
Just like your web browsers and other apps, Windows Explorer also keeps a history of the activities that have taken place in it. If it’s been a really long time since you’re using the Explorer and haven’t really cleared the history, the files may have accumulated in a large number and they may be causing the utility to crash.
Clearing the Windows Explorer history should fix it for you.
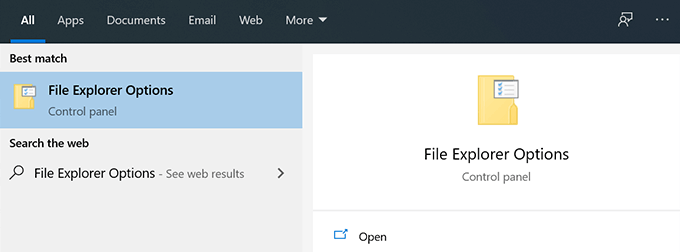
- Use the Cortana search feature to search for and open File Explorer Options.
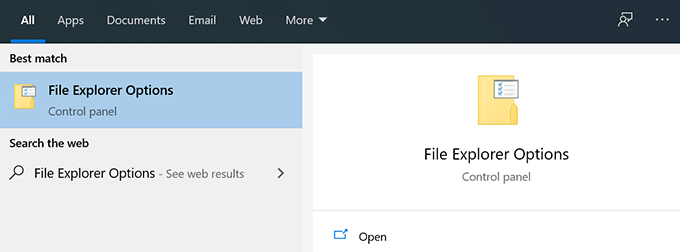
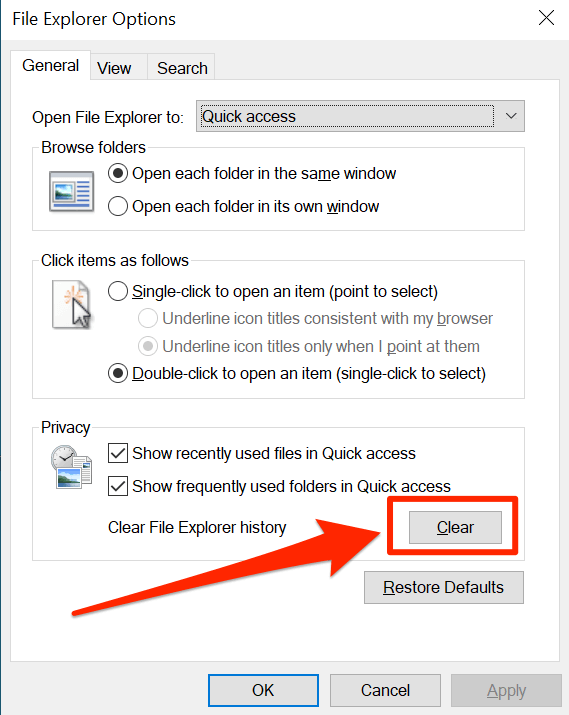
- Click on the General tab if you aren’t already there.
- Look towards the last section that says Privacy and you’ll find a button saying Clear in it. Click on it to clear your Explorer history.
Launch Folder Windows In a Separate Process
Unless you have enabled the option to have a different process for each of your folder windows, the Explorer will use a single process for all the folder windows you open. Sometimes, it can cause conflicts and issues which may lead the Explorer to crash unexpectedly.
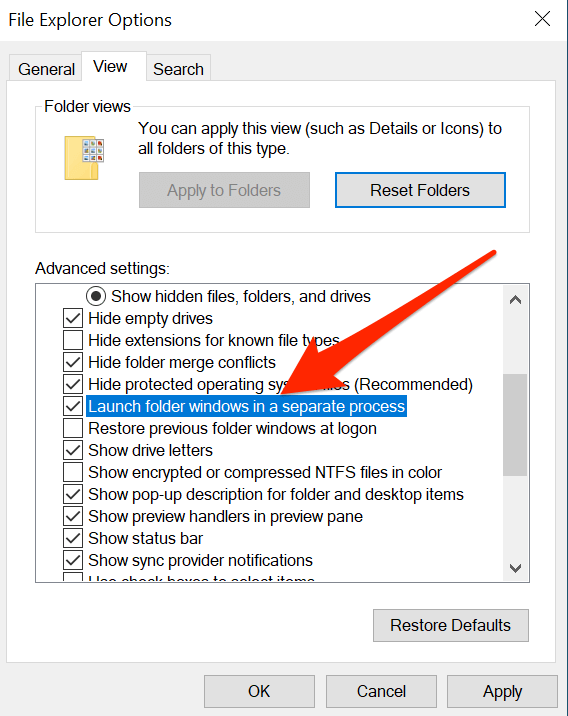
To fix it, you can turn on the option that assigns a unique process to each folder you open in the Explorer.
- Search for File Explorer Options in Cortana search and launch it.
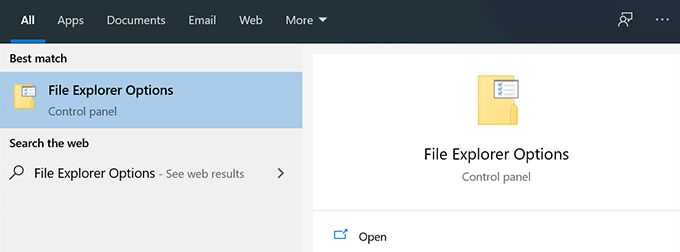
- Click on the View tab when it opens.
- You’ll see a number of options to enable and disable. Find the one that says Launch folder windows in a separate process and tick-mark it. Then click on Apply followed by OK.
Disable Any Antivirus Programs That May Be Running On Your PC
The Windows Explorer keeps crashing issue could also be the result of a third-party app interfering with the workings of the utility. While most apps won’t do that, there are certain types of programs such as antivirus ones that are known to cause conflicts with the built-in Windows tools.
And if that’s the case, fixing the issue is extremely easy. All you basically need to do is close any running antivirus programs on your computer and you’re good to go. These programs will then not be able to touch any parts of the Explorer and that should fix the issue for you.
Remove Items From The Quick Access Menu
Quick access menu is a feature in Windows Explorer that lets you quickly access some of your recently and frequently used files on your computer. Since it’s a part of the utility, any issues in Quick access can lead to major issues like Windows Explorer keep on crashing on your computer.
Disabling the option to include aforementioned file types in Quick access should fix the issue for you.
- Search for File Explorer Options in Cortana search and open it.
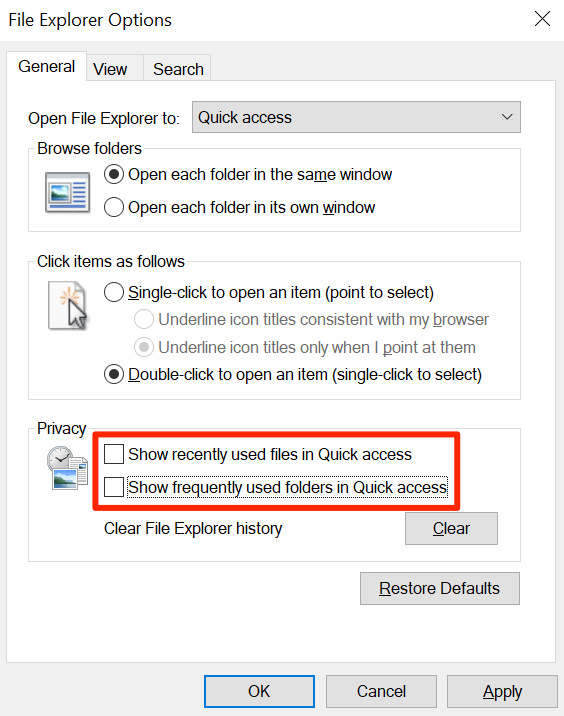
- There’ll be two checkboxes in the Privacy section named as Show recently used files in Quick access and Show frequently used folders in Quick access. You need to untick both of these boxes and click on Apply followed by OK.
Fix Corrupt Files & Drives
Corrupt files and drives are also sometimes the reason why certain utilities end-up closing unexpectedly on your machine. Manually finding and fixing the corrupt files may not be an ideal solution, and if you aren’t really into any geeky things, you might prefer a simpler method.
Windows actually has built-in methods to let you find and fix the issues related to corrupt files and drives. There are commands that you can use in the Command Prompt utility on your PC to get rid of these problems.
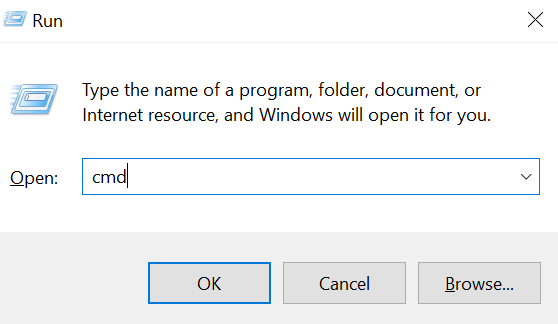
- Press the Windows + R keys at the same time, type cmd, and hit Enter.
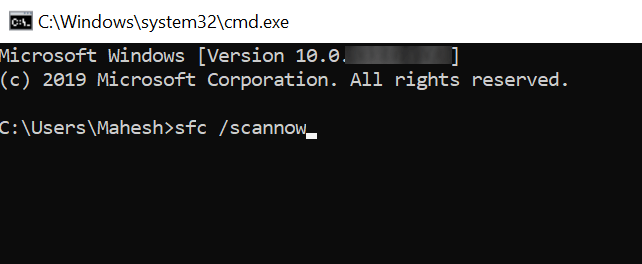
- Type in the following command, hit Enter, and let it fully execute.
sfc /scannow
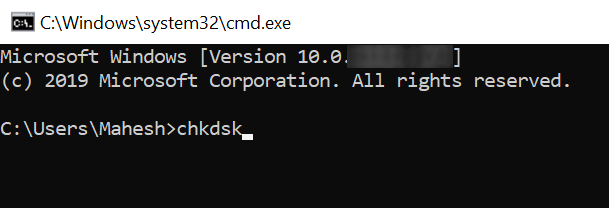
- Run the following command and let it fix your damaged drives.
chkdsk
Disable Third-Party Extensions
When you install a third-party app on your computer, sometimes they end-up adding their integrations to the Windows Explorer. And when any of those integrations get broken for whatever reason, they cause the Explorer to crash as it can’t handle a broken app integration.
There’s a free app that lets you find and disable these extensions on your PC.
- Download and launch ShellExView on your computer.
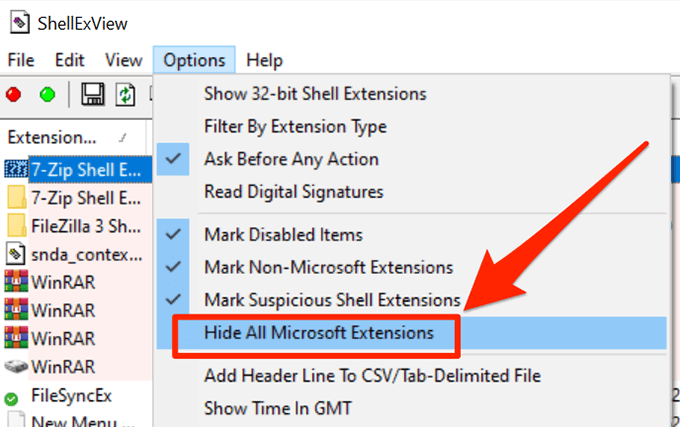
- Click on the Options menu at the top and select Hide All Microsoft Extensions so that you only see the third-party ones.
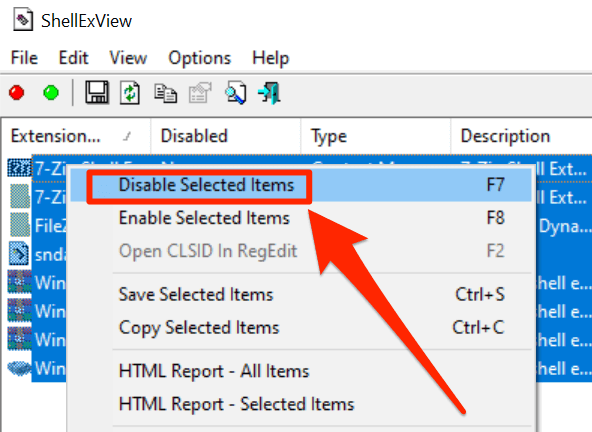
- Select all the extensions by pressing Ctrl + A.
- Right-click on any extension and choose Disable Selected Items.
- If the issue gets resolved, enable the disabled extensions one by one and you’ll find out what was causing the issue.
Have you ever run into any issues with Windows Explorer? Did our methods above help you fix the issues? We’d like to hear your response in the comments below.

