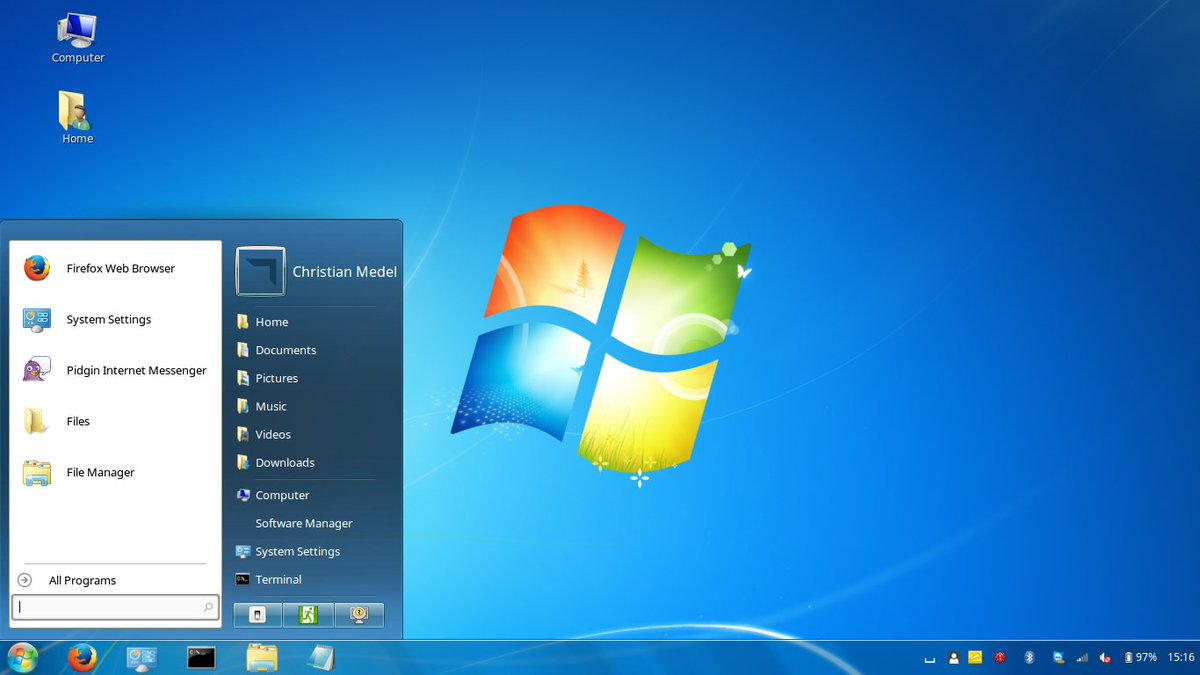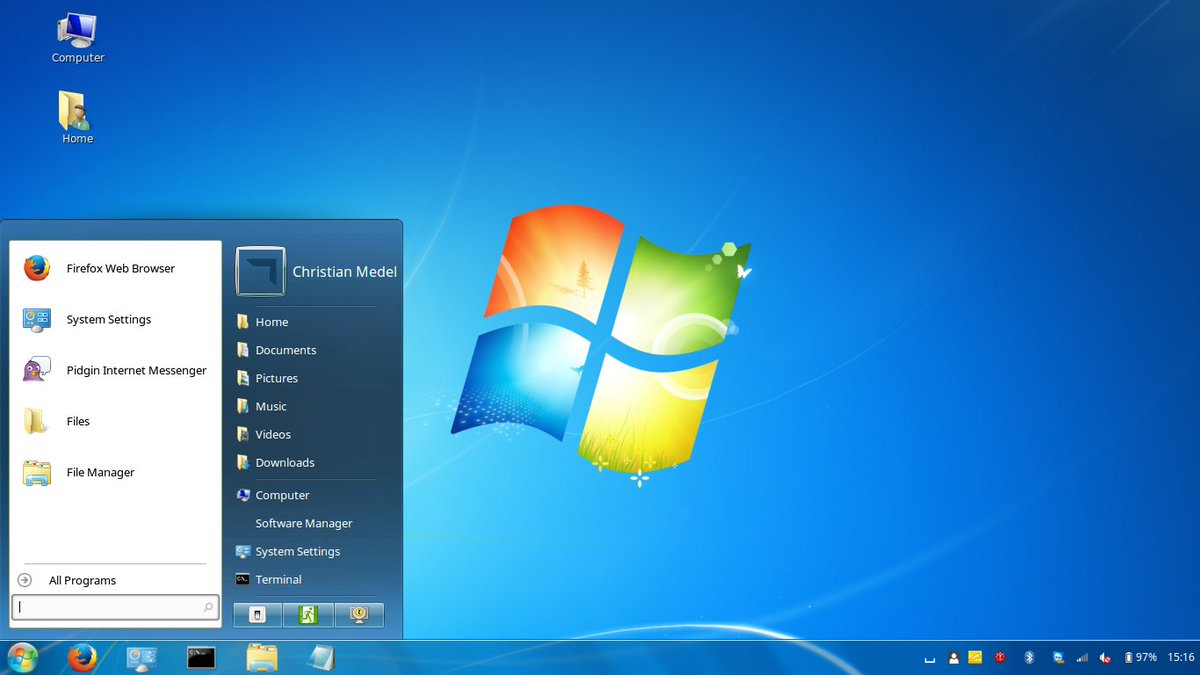
The screenshot you see above looks like it’s of Windows 7 but it’s actually just a Windows 7 theme for Linux Mint.
Pretty impressive, huh?
We’ve shown you how to make Linux Mint look like a Mac before so aping the appearance of a rival operating system while not to everyone’s tastes is something you already know is possible.
But we’ve never really touched on how to make this distro look like Windows. And Linux Mint is the ideal starting point if you want to do that because it looks and behaves more like Windows than regular Ubuntu does.
So with Windows 7 support at an end, and lots of users debating a switch to Linux Mint, it feels like a good time to share this (surprisingly simple) how to.
Contents
Windows 7 Linux Mint Theme
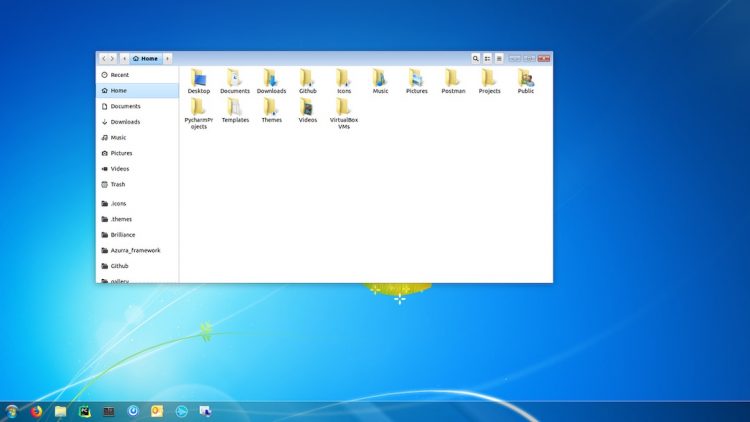
For an accurate looking Linux Mint Windows 7 theme we can turn to the fab design team at the B00merang Project.
They’ve crafted a competent copy of the Windows 7 UI for the Cinnamon desktop (the theme will also work on other desktops too, with varying results).
Download Windows 7 GTK Theme
Assuming you’re running a recent-ish version of Linux Mint (or a different distro with the Cinnamon desktop installed) your first step is to download the following Windows 7 theme pack:
Let the archive fully download and then, using your file manager, locate the .zip file you just got and extract it in to a new folder.
Next, in another file manager window, open the .themes directory in your Home folder. Remember: to see (or hide) hidden “dot files” you need to press ctrl + h.
Don’t see a .themes folder? Go ahead and create one, just remember to include the . in the folder name, and stick to lowercase!
Copy the extracted folder in to here to install the Windows 7 theme pack.
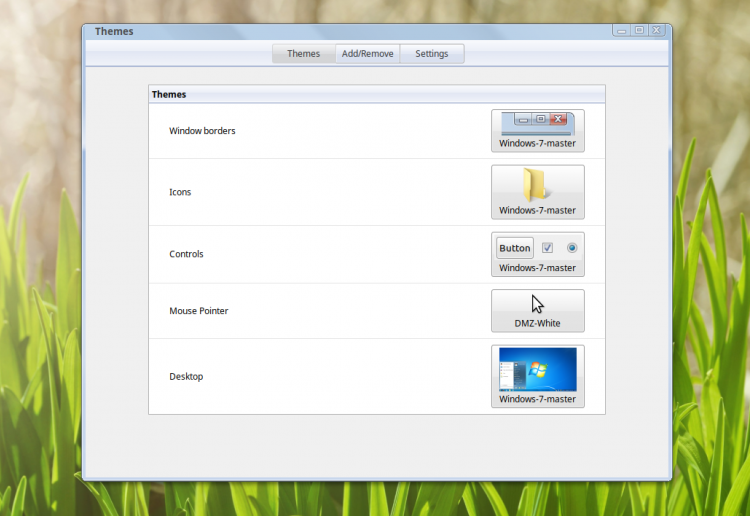
Linux Mint makes it very super easy to change theme: open the Mint Menu to search for and open “Themes”. Set the Windows 7 GTK theme for Window borders, Controls, and Desktop.
Download Windows 7 Icon Set
That’s the theme done, but we can go further. To help round out the Windows 7 look you should use an Windows 7 icon set — which, hurrah, the B00merang project also provide:
Download and extract the .zip file above and move the extracted directory (not the zip file) to the hidden .icons folder in Home.
Don’t see a .icons folder? Go ahead and create one, just remember to include the . in the folder name, and stick to lowercase!
Once done, pop open the “Themes” tool again set ‘icons’ to the Windows 7 pack you just added.
Finishing touches
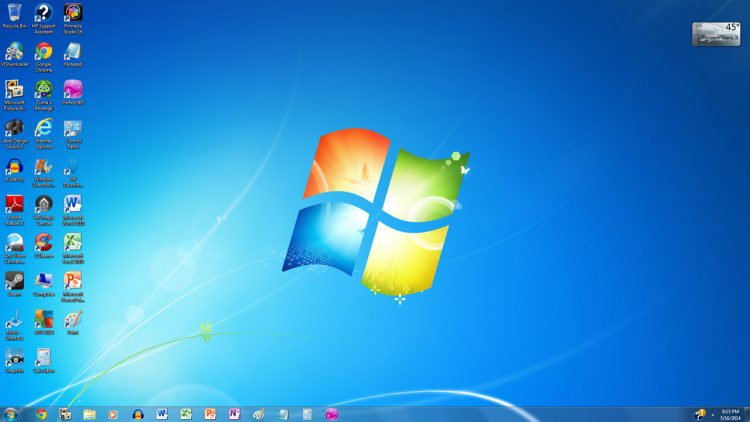
By now your desktop will look a lot like the ‘real deal’ you see above — but there are a few other tweaks you can make to round off the experience.
First is adding a Start Menu clone. Now, I personally prefer the default Mint Menu over anything else but I accept that it doesn’t “look the part”.
So, to replace the Mint Menu with a Windows 7 Start Menu clone:
- Right-click on the panel and select “Add Applets”
- Select the “Download” tab
- Search for and install “Start Menu”
- Click the install icon for “CinnVIIStarkMenu”
- Switch back to the Manage section and add the applet
Use “Panel Edit” mode to reposition the Start Menu clone where you want it (i.e. on the far left) — just remember to turn panel edit mode off after as it’s not automatic. If you don’t, you’ll be frustrated that nothing on the panel seems to respond!
Finally, to seal the deal, you’ll want to download a nice high quality version of the Windows 7 wallpaper to set as your desktop background (shortcut: right-click on the image file in the file manager and select ‘Set as Background’).
There you have it; a safe and secure Linux Mint system that looks a lot like Windows 7 but, mercifully, isn’t Windows 7!
Download
How To
Themes
Cinnamon
Eye Candy
Linux Mint
windows 7

