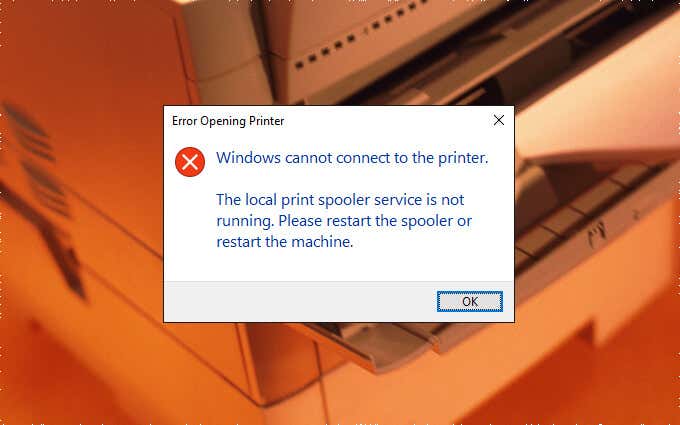
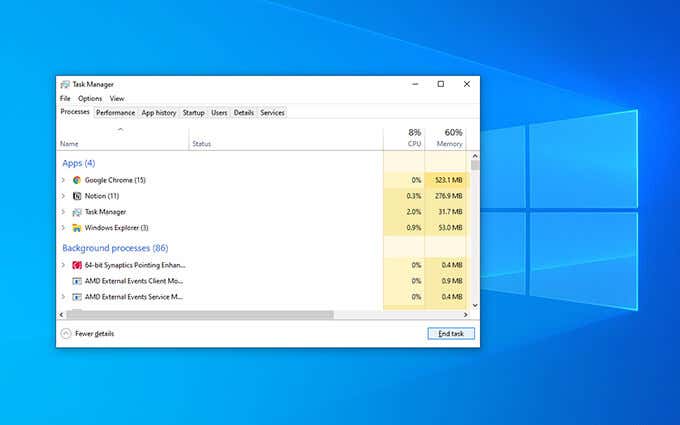
The Print Spooler is a service that handles printers and print jobs in Windows 10. But multiple things—such as corrupt files, obsolete drivers, and insufficient permissions—can stop it from functioning correctly.
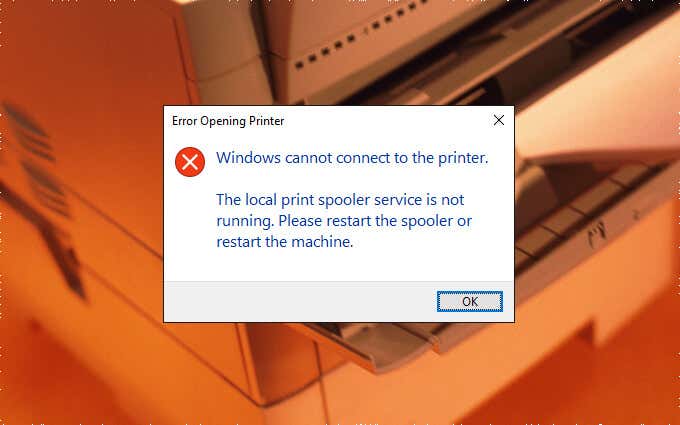
So if the Print Spooler crashes, fails to start, or keeps stopping as you perform a printer-related action on your PC, the fixes and suggestions below should let you get it working again.
Contents
- 1 Run Printer Troubleshooter
- 2 Check Print Spooler Configuration
- 3 Check the Print Spooler Recovery Response
- 4 Delete the Print Spooler Cache
- 5 Delete Temporary Files in Windows 10
- 6 Reinstall Printer Drivers
- 7 Update Printer Drivers
- 8 Update Windows 10
- 9 Fix Broken Registry Keys
- 10 Scan for Malware
- 11 Run the System File Checker
- 12 Take Ownership of Spoolsv
- 13 Perform a System Restore
- 14 Print Spooler Working Non-Stop
Run Printer Troubleshooter
Windows 10 comes with a built-in troubleshooter that can automatically sort printer issues on your computer. So it’s best to kick things off by running it.
1. Open the Start menu and select Settings.
2. Select Update & Security.

3. Switch to the Troubleshoot tab and select the option labeled Additional troubleshooters.

4. Select Printer > Run the troubleshooter.

5. Follow all prompts on the Printer troubleshooter to find and fix problems with printing.
Check Print Spooler Configuration
If running the Printer troubleshooter didn’t help, follow up by double-checking the configuration of the Print Spooler. Then, make any changes to match the steps that follow.
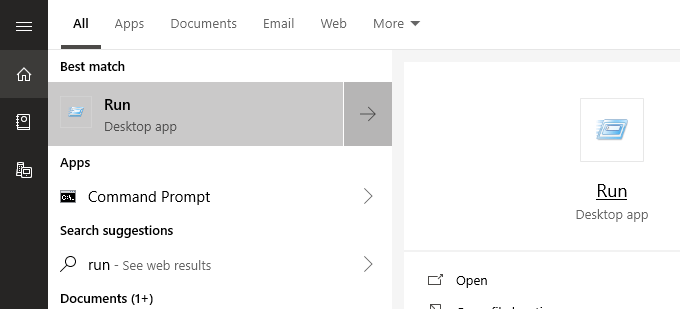
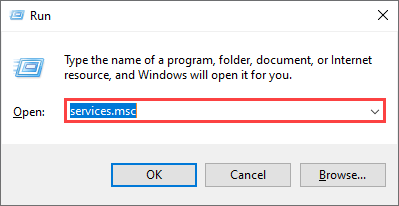
1. Press Windows + R to open the Run box.
2. Type services.msc and select OK. The Services app should load momentarily.
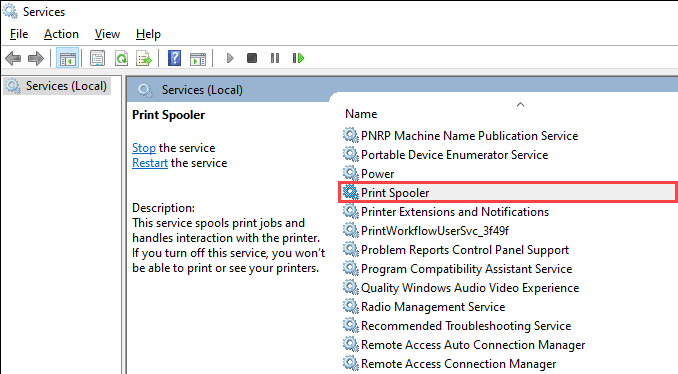
3. Double-click the service labeled Print Spooler.
4. Set Startup type to Automatic.
5. Select Start to set Service status to Running.
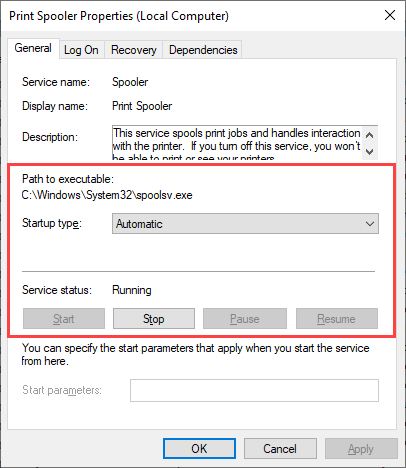
6. Select Apply, then OK.
Check the Print Spooler Recovery Response
Should the issue recur, you must follow by tweaking the Print Spooler’s recovery response in a way that restarts the service even after it fails.
1. Re-open the Services app.
2. Double-click the Print Spooler service.
3. Switch to the Recovery tab.
4. Select Restart the Service on the drop-down menus next to First failure, Second failure, and Subsequent failures.
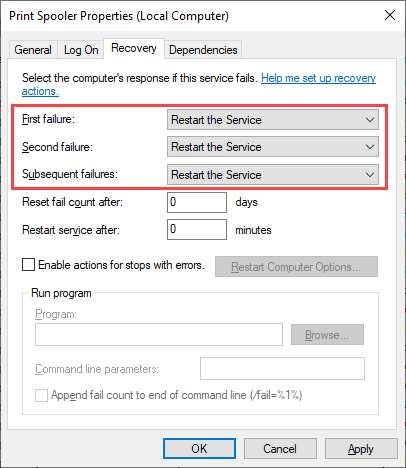
5. Select Apply, then OK.
Delete the Print Spooler Cache
An obsolete or corrupt Print Spooler cache can cause it to crash repeatedly. Try deleting them to check if that helps. However, before you do that, you must manually stop the service from running.
1. Open the Services app.
2. Right-click Print Spooler and select Stop.

3. Open File Explorer and go to Local Disk (C:) > Windows > System32 > spool > PRINTERS.
4. Delete all files inside the directory. However, leave folders (if you see any) intact.
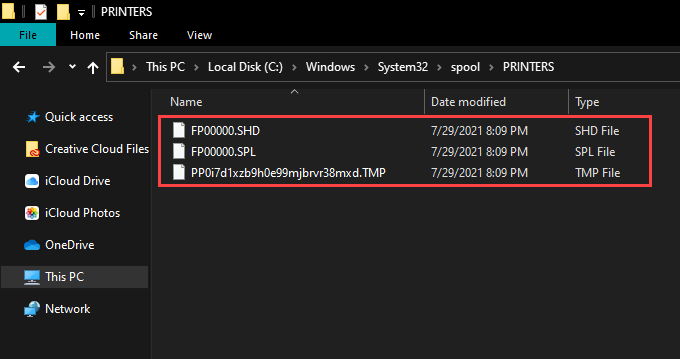
5. Restart your computer.
Delete Temporary Files in Windows 10
Temporary files that belong to applications and the operating system can also create conflicts and prevent the Print Spooler from working correctly. Try deleting them.
1. Press Windows + R to open the Run box.
2. Type %temp% and select OK.
3. Delete all files within the folder.

4. Open another Run box, type temp, and select OK.
5. Delete all files within that folder as well.
6. Restart your computer.
For additional instructions, check out this guide to deleting temporary files in Windows 10.
Reinstall Printer Drivers
Corrupt or broken printer drivers can also cause the print spooler to keep stopping. If the service stops working while interacting with a specific printer, try reinstalling it.
1. Open the Start menu and go to Settings > Devices > Printers & scanners.
2. Select a printer under the Printers & scanners section.
3. Select Remove device.

4. Select Home and go to Apps > Apps & features.
5. Select and remove any printer-related support software.
6. Restart your computer.
7. Re-open the Settings app and go to Devices > Printers & scanners. Then, choose the Add a printer or scanner option and select Add device.

8. Select the printer and follow all on-screen prompts to reinstall it.
9. Reinstall any support software for the printer.
If you run into issues while following the steps above, you may want to learn about additional ways to remove printer drivers in Windows 10.
Update Printer Drivers
Newer printer drivers contain fixes that resolve bugs and compatibility issues with the operating system. So it’s always a good idea to download and install the latest drivers or support software from your printer manufacturer’s website. Also, consider using a driver updater tool if you have any trouble procuring drivers manually.
Update Windows 10
Updating Windows 10 helps fix any persistent bugs and glitches preventing the Print Spooler from working correctly. Check for any pending updates and apply them now.
1. Open the Start menu and go to Settings > Update & Security.
2. Select Check for updates.

3. Select Download and install to apply all pending updates.
If you see the View optional updates option within the Windows Update screen, select it and apply any Microsoft-verified driver updates for your printer.
Fix Broken Registry Keys
Broken registry keys in Windows 10 can also result in Print Spooler-related issues. A free registry cleaning application such as Wise Registry Cleaner should help you both scan and fix errors automatically.
Scan for Malware
Computer viruses and malicious programs often cause essential functions in Windows 10 to stop working. However, you can use Windows Security to rule that out by performing a comprehensive scan for malware.
1. Select the Windows Security icon on the system tray.
2. Select Virus & threat protection.

3. Select Scan options.
4. Select the radio button next to Full scan.

5. Select Scan now.
Run the System File Checker
The System File Checker is a command-line tool that can help you fix file corruption and stability issues in Windows 10. You can run it via an elevated Windows PowerShell console.
1. Right-click the Start button and select Windows PowerShell (Admin).

2. Type the following command:
sfc/ scannow

3. Press Enter.
Take Ownership of Spoolsv
Taking ownership of the executable file that runs the Print Spooler can also help stop crashes and other issues with the service.
1. Open File Explorer and go to Local Disk (C:) > Windows > System32.
2. Right-click the file labeled spoolsv and select Properties.
3. Switch to the Security tab and select Advanced.

4. Select Change.

5. Type in your Windows username and select Check Names. If you typed it correctly, you should see the path to your user account listed automatically.

6. Select OK.
7. Confirm that you see your username next to Owner. Then, select Apply, then OK.

8. Restart your computer.
Perform a System Restore
If your print spooler still keeps stopping, you can choose to revert your computer to an earlier state when the Print Spooler worked without problems. However, you can only do that if you took the time to activate the System Restore functionality in Windows 10 previously.
1. Open the Run box.
2. Type sysdm.cpl and select OK.
3. Switch to the System Protection tab.
4. Select System Restore.

5. Select Recommended restore or Choose a different restore point and select Next.

6. Follow all on-screen instructions to reset your computer.
Print Spooler Working Non-Stop
Any of the fixes above should’ve helped get the Print Spooler up and running correctly. But if none of them worked and you keep receiving errors frequently, you must consider restoring Windows 10 to factory settings. You might be dealing with a severe underlying issue that only setting up the operating system from scratch can fix.

