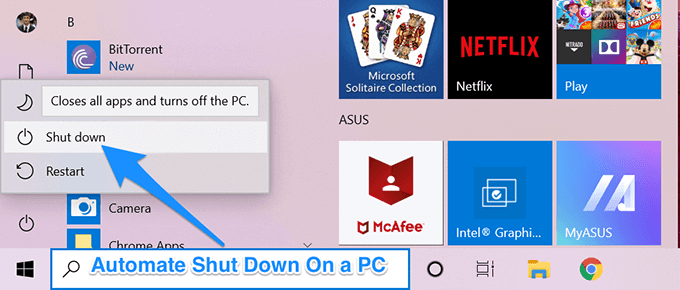
Windows allows you to automate a number of tasks on your computer and one of these is the automatically shutting down your computer. You can actually create a schedule for the shutdown that automatically turns off your computer at the specified time.
Setting up the auto shutdown feature on a Windows PC is pretty easy and quick. In fact, there are multiple ways to do the task and you can proceed with any one of them that you think is convenient for you.

Contents
Automatically Shut Down a Computer Using Run
If you want to automatically shut down your computer, say after 30 minutes, using Run to create the schedule would be the best and quickest way.
All you basically need to do is enter a command in the Run dialog box and it’ll turn off your machine when your chosen time period ends.
- Press the Win + R keys to open the Run dialog box.
- Type in the following command into the box and hit Enter. Make sure to replace 1800 seconds with your own time.
shutdown -s -t 1800
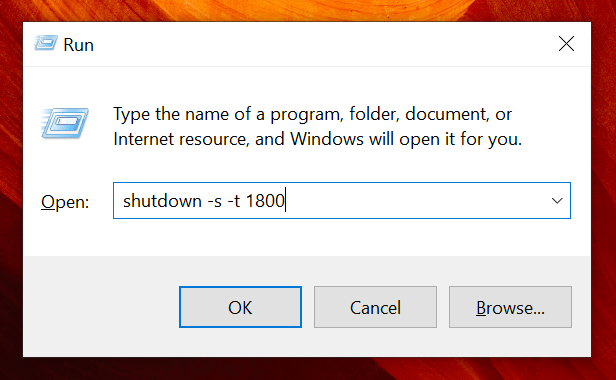
Your computer will turn off when the specified time in second has elapsed.
Using Command Prompt To Automatically Shut Down a Computer
If you’re a Command Prompt guy and prefer to use it to do your tasks, you can use it for creating a shutdown schedule as well on your computer.
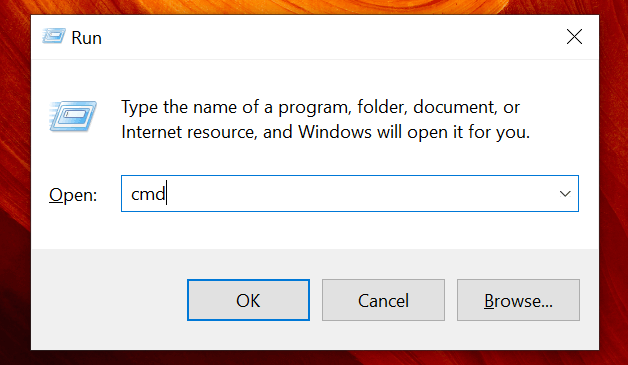
- Press the Win + R keys at the same time.
- Type in cmd in the box on your screen and hit Enter. It’ll open a Command Prompt window.
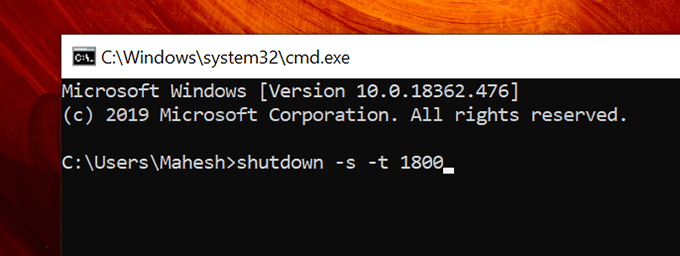
- When the Command Prompt window opens, type in the following command and hit Enter. Make sure to replace 1800 seconds with whatever time you want to use.
shutdown -s -t 1800
Schedule Automatically Shutting Down a Computer With Task Scheduler
If you notice, the above two methods do help you shut down your machine but they don’t let you specify a specific time and date for the shutdown. What if you want to turn off your computer at 10 PM every night?
That’s where Task Scheduler comes into the picture. It lets you set shut down schedule for any chosen date and time as well as it lets you set recurring schedules. This way, if you want your computer to turn off at 10 PM every night, you can do it using the utility.
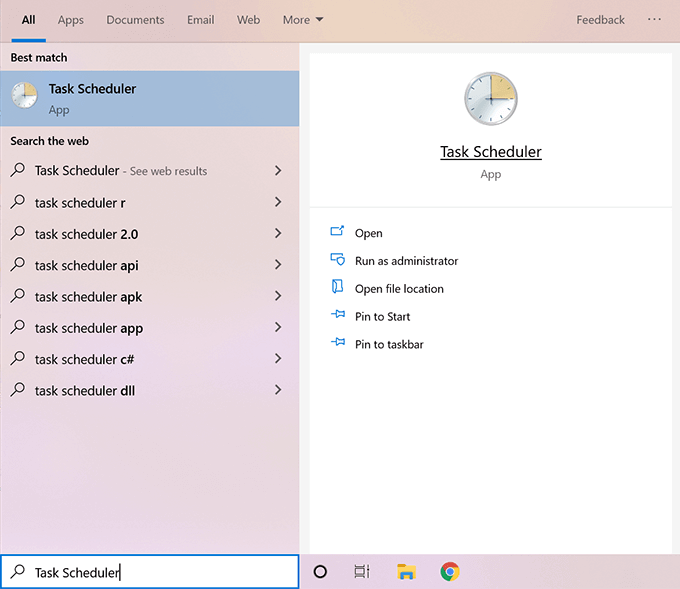
- Use the Cortana search box to search for Task Scheduler. Click on it when it appears in the search results.
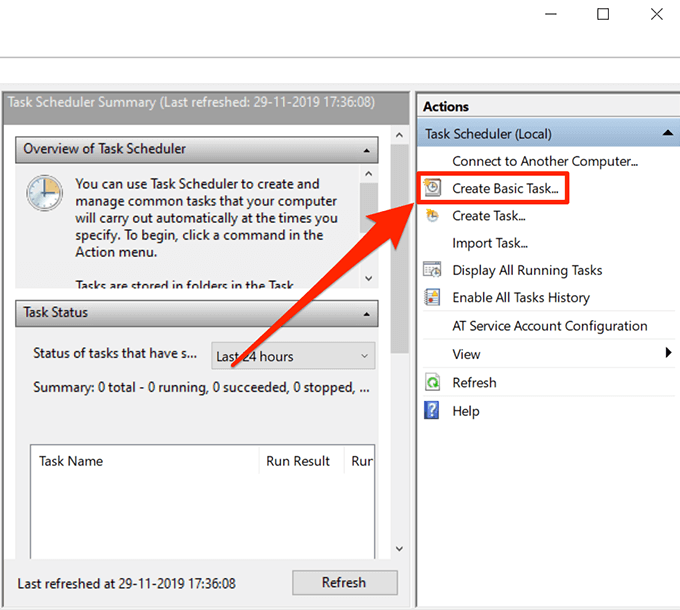
- When the utility opens, you’ll find several options you can choose from. Find the one that says Create Basic Task in the right-sidebar and click on it to open it.
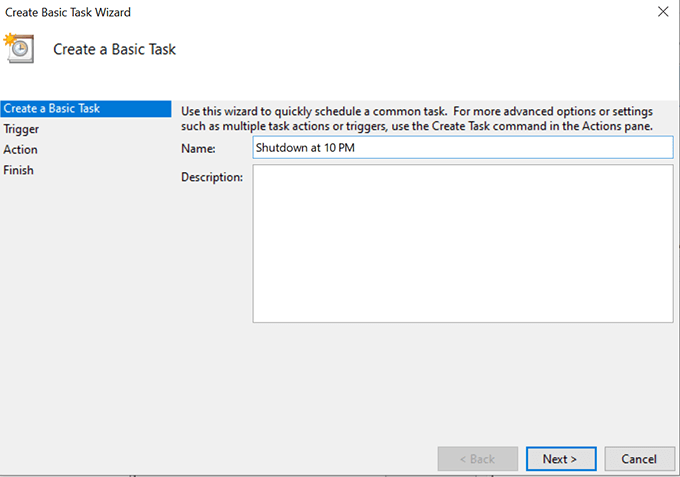
- The following screen asks for the name and description of your task. You can use any name for the task as long as you can recognize what the task is for. Then click on Next to continue.
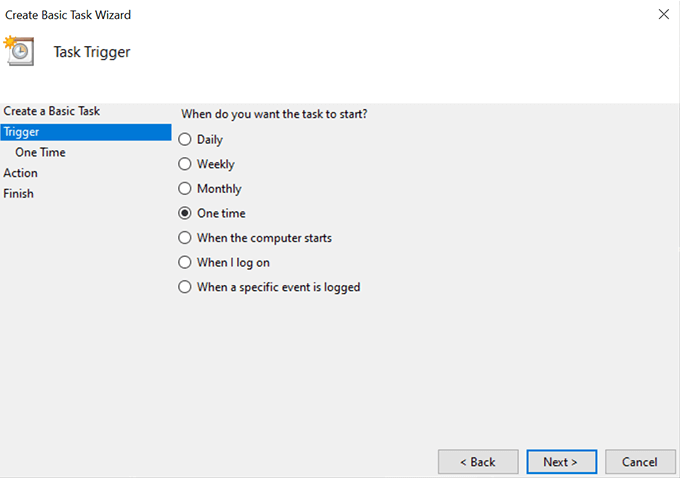
- It’ll now ask when you want for your task to run. If you want a recurring task, you can choose your options accordingly. If you only want the task to run once, select One time and hit Next at the bottom.
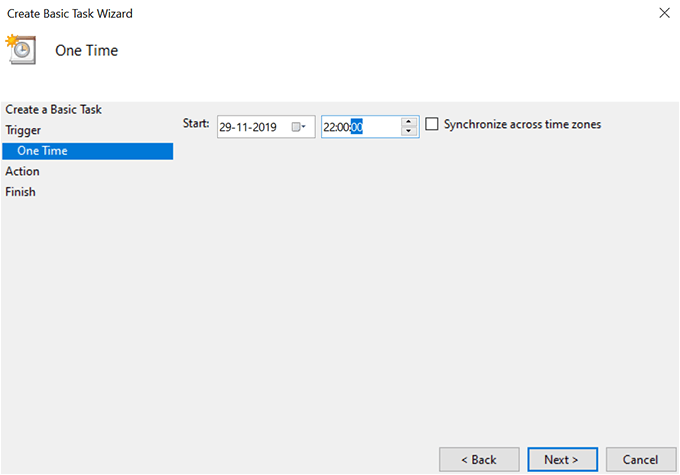
- You can now set the start time of the task. This is the time and date when your computer will automatically shut down. Use the calendar and time boxes to fill-in the information and then click on Next to continue.
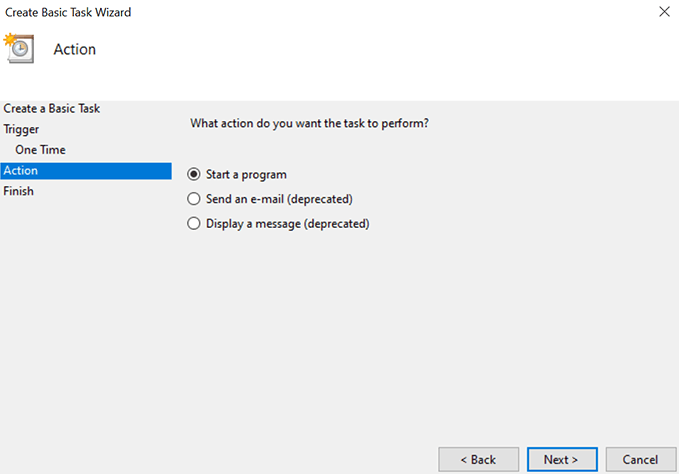
- It will ask what action you’d like to perform when the task runs. Select the option that says Start a program and click on Next.
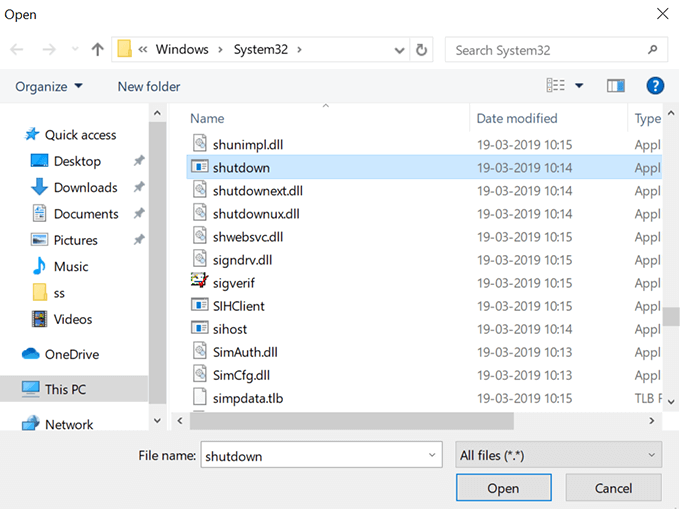
- You need to choose the shutdown utility on this screen. Click on the Browse button and it’ll let you browse your files.
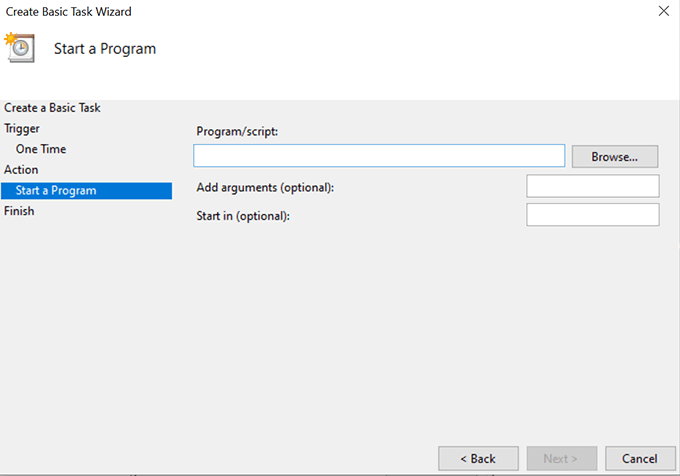
- Head to C:WindowsSystem32 and find and double-click on shutdown.exe.
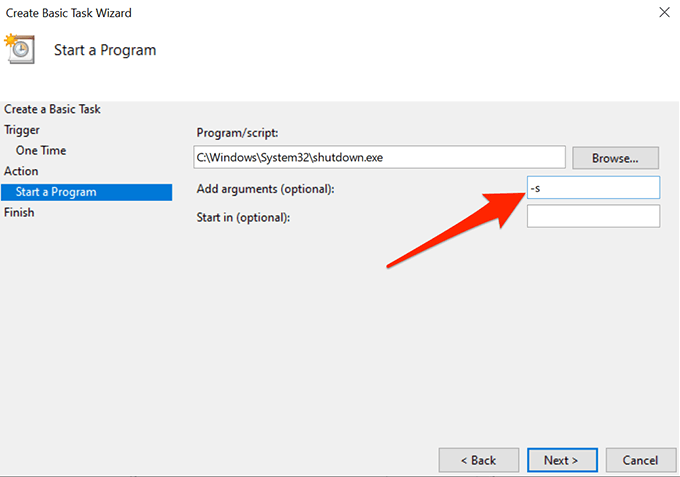
- The shutdown utility actually requires an ‘argument’ for it to shut down your machine. Enter -s in the field that says Add arguments so the utility turns off your system and not do any other tasks like rebooting or putting your PC to sleep. Then click on Next to continue.
- You’re now on the final screen of the task. Confirm everything is in order and then click on Finish to finish creating the shut down schedule.
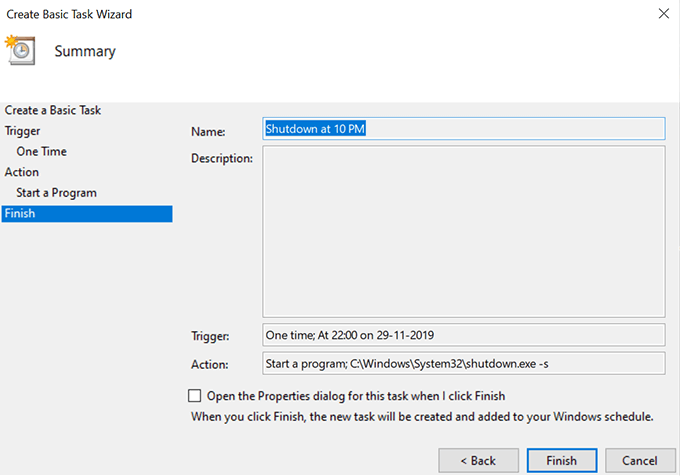
Your task in Task Scheduler will automatically be triggered at your chosen date and time and will automatically shut down your computer. Make sure you aren’t doing anything on your computer at the shutdown time or you risk losing your work.
Use Sleep Timer To Automatically Turn Off a Windows PC
Task Scheduler gets the job done but it’s not the easiest way to create shutdown schedules. As you can see, for each schedule creation, it requires you to go through a number of screens before your task is ready.
If this is something you don’t want to spend your time on and you’d prefer a quicker way, a third-party app might help you.
Enter Sleep Timer, a free portable app for your Windows PC that lets you shut down your computer at your chosen time without going through multiple screens. All it has is a single screen where you can define your settings and your schedule is ready.
- Download the app to your computer and double-click on it to open.
- On the main screen, you have multiple ways to shut down your computer. You need to configure it as the following so it turns your machine off at your chosen time.
Mode – choose Time
Action – make sure Shutdown is selected
Perform action at – choose the desired time when you want to turn off your PC
Then click on the play icon to start the task.
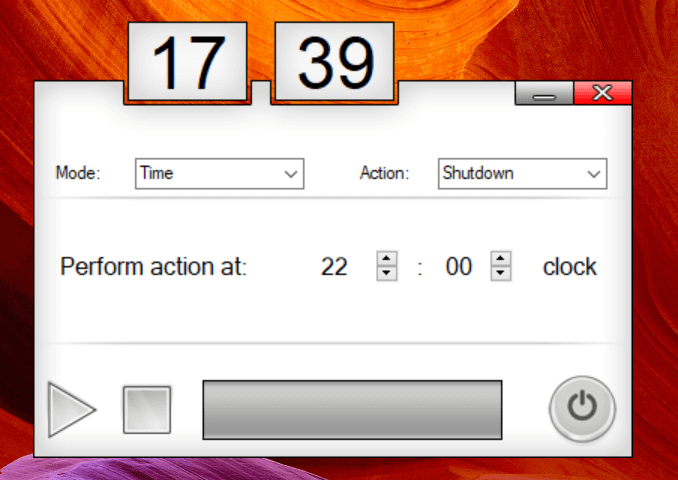
It’ll show you the remaining time before your computer turns off.

