Windows 10 was released back in 2015, and with regular updates and new features, Microsoft continues to improve the user experience for Windows users. The problem with regular updates is the update process, which can sometimes cause problems.
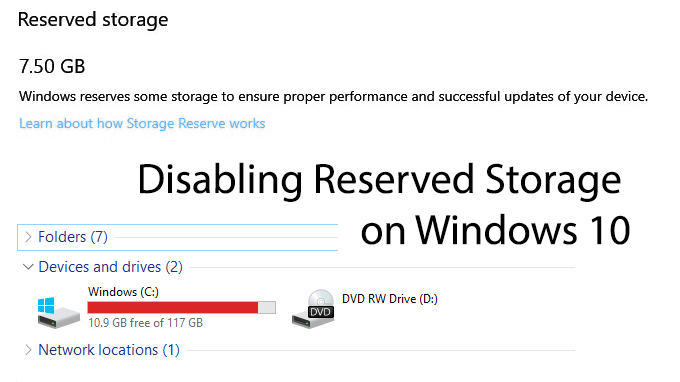
Having enough disk space can be one potential issue to cause a problem with Windows updates, especially on smaller-sized SSD drives. To solve the problem, Microsoft introduced a new feature, “Reserved Storage”, in their May 2019 update.
In this article you’ll learn how to disable reserved storage in Windows 10.
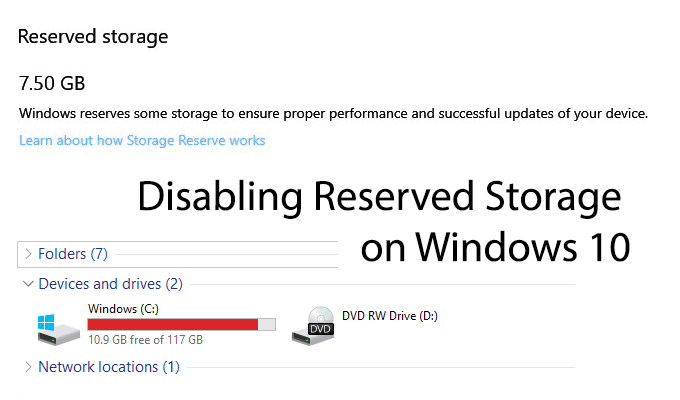

What Is Reserved Storage?
As you can probably guess from the name, Microsoft’s solution to prevent users from running out of storage is to grab a portion of your disk space for updates.
In total, certain users with a PC running Windows 10 version 1903 will lose around 7GB of space. Windows will automatically use this space for updates and other temporary files. This is to reduce the chance that, during a large update, your entire storage capacity will be used up.
That’s not to say that this “Reserved Storage” is a complete solution. As an article from Microsoft’s development team explains, Windows can and will use other free storage, if the entire “Reserved Storage” capacity is used.
Overall, this is a good feature but it doesn’t take into account users with limited storage capacities. If you have a 120GB SSD drive, disk space might be at a premium.
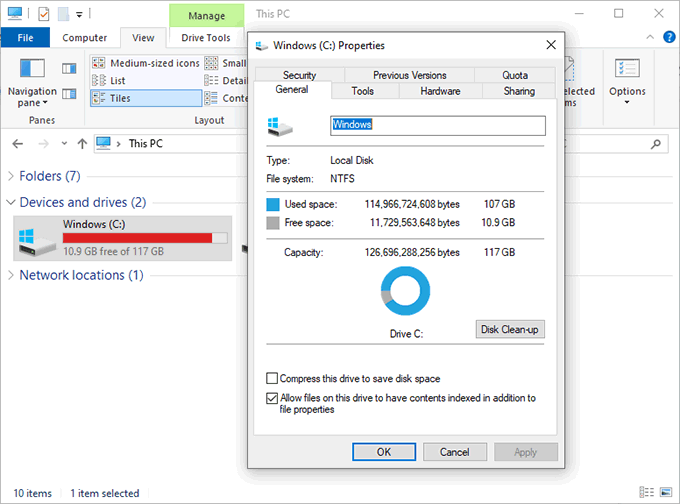
It also restricts user choice, as it puts the power over your storage in Windows hands. On the other side, saving space for future updates should reduce the chances of issues with any major Windows updates in the future.
While it’s possible to remove and reinstall Windows updates that fail to install properly because of a lack of space, this is not an ideal situation for users and could result in further problems in the future.
If you want to conserve space, it’s smart to disable reserved storage.
How To Check Whether Reserved Storage Is Enabled
The “Reserved Storage” mode should be pre-activated on any fresh Windows 10 installations running the May 2019, version 1903 update. That means brand new PCs running Windows 10, as well as any other clean installations of Windows 10 with this update.
Anyone upgrading from a previous Windows 10 build won’t have “Reserved Storage” activated immediately when they update, although it’s possible that this may change in the future.
If you’re not sure whether “Reserved Storage” is enabled or not, you’ll need to check what version of Windows 10 you’re currently running first.
You can check your version of Windows 10 by checking the “About” section of your Windows 10 settings.
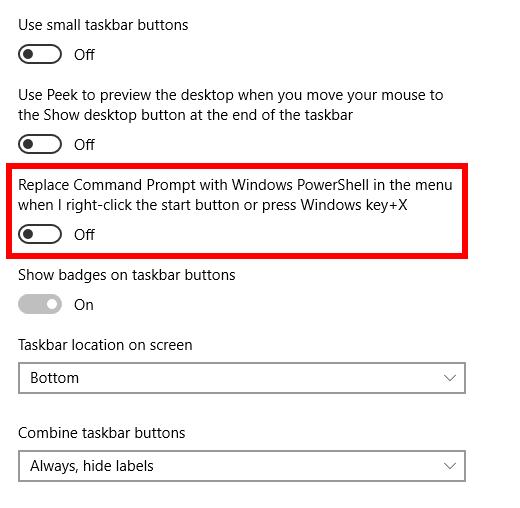
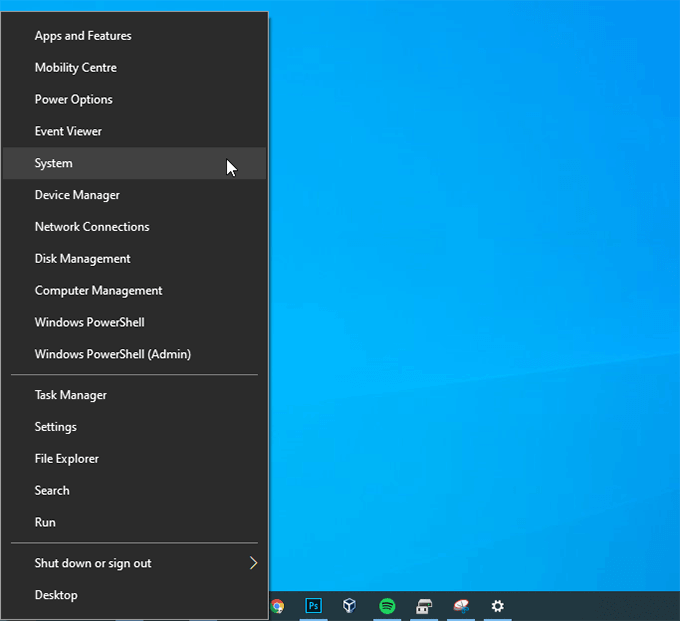
- To access the “About” section, right-click the Windows Start button in your taskbar and click System.
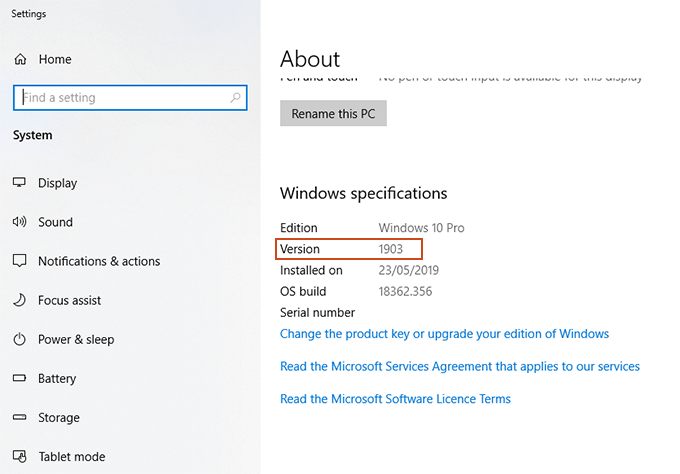
- Once you’re in the “System” panel, you should default to the “About” section automatically, where you should see a list of your device and Windows specifications. Scroll to the Windows specifications section, where your Version number should match 1903.
If Windows 10 version 1903 is installed, you can check your “Reserved Storage” settings directly.
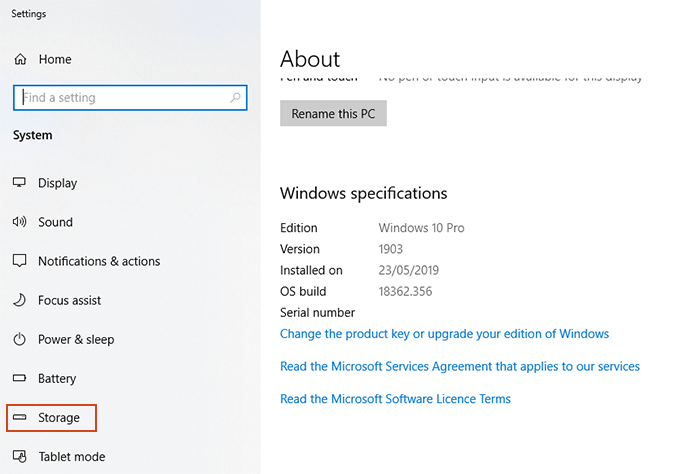
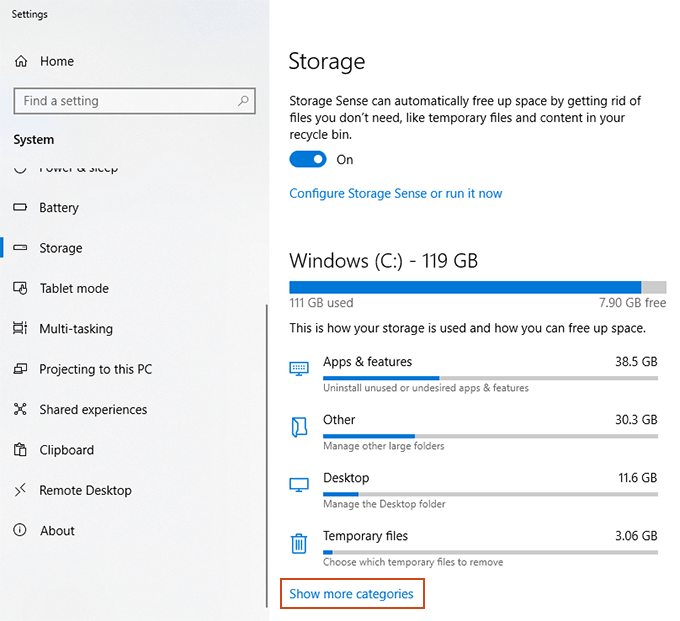
- In the System menu, click Storage in the left-hand menu.
- You’ll see information on how you use your storage on Windows in this section. To access information on “Reserved Storage”, however, you’ll need to click Show more categories.
- Extra categories will appear, including System & reserved. Click on this section.
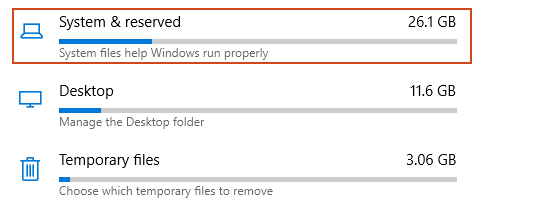
- If you have “Reserved Storage” enabled on your PC, you’ll see this listed here, under Reserved storage. If you don’t have this listed as an option, then “Reserved Storage” isn’t enabled on your PC.
You’re free to wipe and reinstall Windows 10 to a clean installation running version 1903 if you’d prefer, but there’s a much faster way to enable this feature.
How to Enable or Disable Reserved Storage On Windows 10
There are at present no easy options for you to enable or disable “Reserved Storage” on your Windows 10 PC. To modify it, you’ll need to use the Windows Registry Editor tool, regedit.
A word of warning, however. Registry edits can break your Windows installation if they’re performed incorrectly. Make sure you back up your registry before you proceed.
Whether you want to enable or disable “Reserved Storage” on your PC, you’ll need to start by opening the Registry Editor.
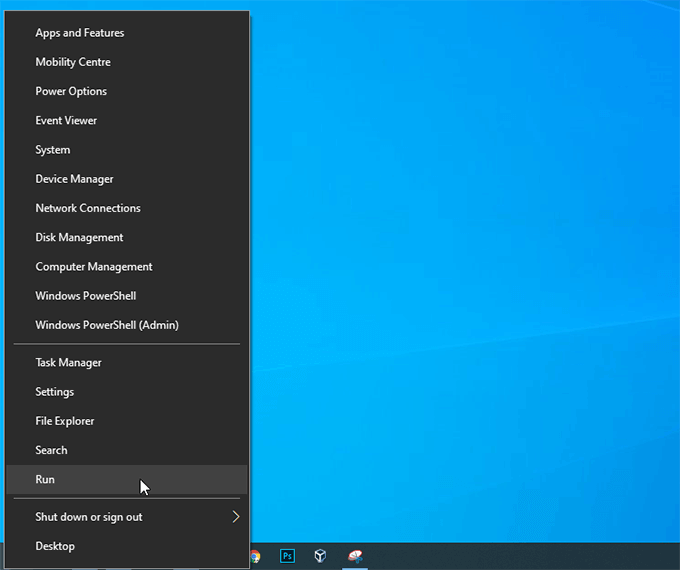
- Right-click your Windows Start menu button and click Run.
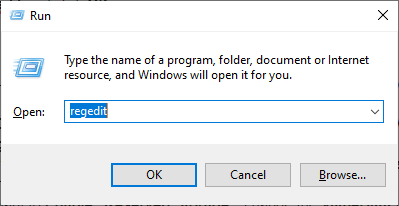
- Type regedit and click OK.
- Click Yes to any User Access Control warnings that appear.
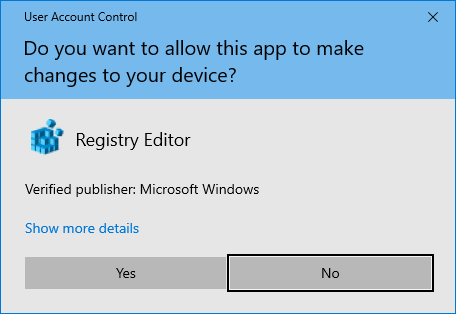
- In the left-hand side of the Registry Editor is your Windows Registry. You’ll need to head to
HKEY_LOCAL_MACHINESOFTWAREMicrosoftWindowsCurrentVersionReserveManager
- Double-tap each new folder to expand and access the subfolders beneath, starting with HKEY_LOCAL_MACHINE.
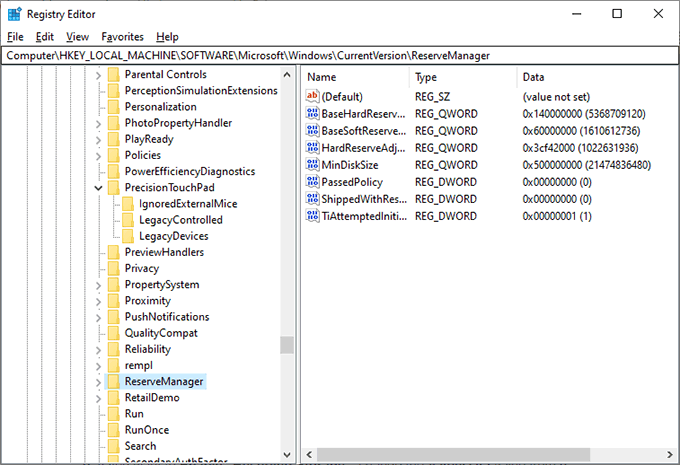
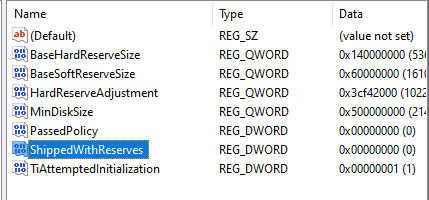
- Once you’re in ReserveManager, double-click on the ShippedWithReserves value.
- If you want to Disable “Reserved Storage”, change the ValueData value from 1 to 0. If you want to Enable “Reserved Storage”, change the ValueData value from 0 to 1.
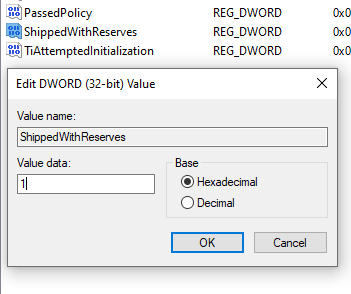
- Once you’re done, feel free to close the Registry Editor, as your changes should save automatically.
Enabling or otherwise disabling “Reserved Storage” won’t result in any immediate changes. You will need to wait until Windows next completes an update (possibly a large update) before seeing any changes.
Once a Windows update has been applied, you can return to the “Storage” area of your “System” panel to confirm whether or not Windows has claimed the necessary storage.
The “Reserved Storage” section will either appear or disappear, depending on your choice.

