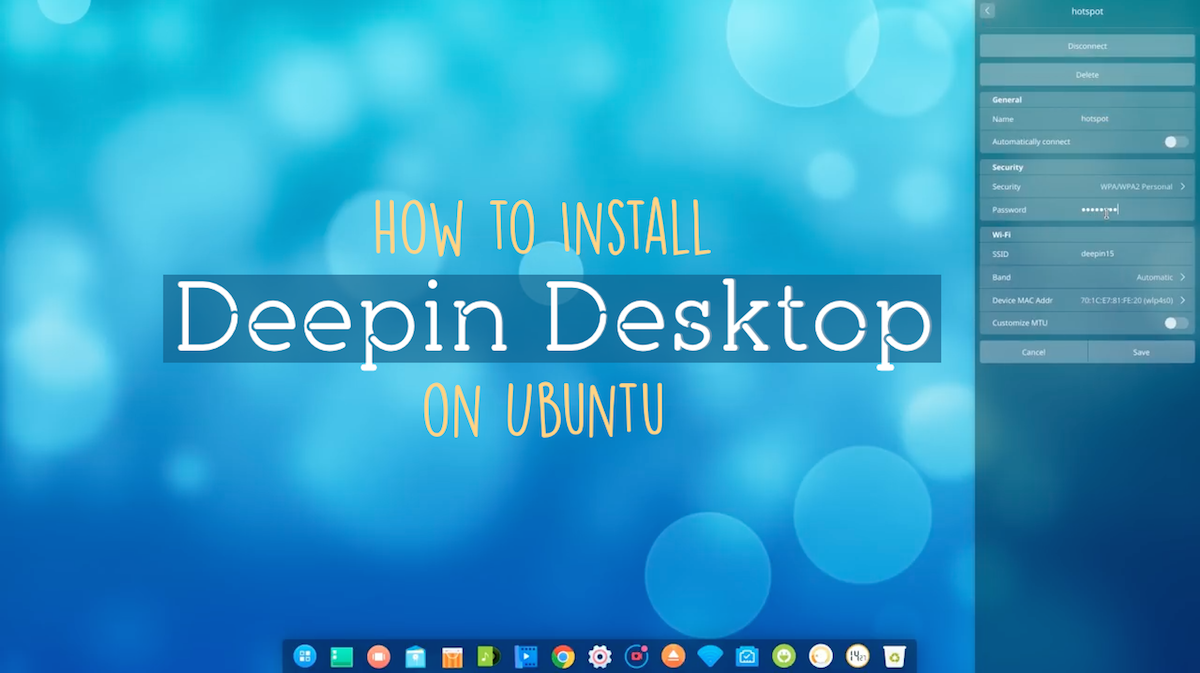
Are you wondering how to install the Deepin desktop environment on Ubuntu 18.04?
Well, wonder no more because in this post we show you how.
All you need is an up-to-date version of Ubuntu 18.04 ‘Bionic Beaver’ (or the latest Linux Mint 19 beta), a working internet connection, and a single community-maintained PPA.
No tar.gz archives to tussle with, no scripts, no fuss.
Provided you’re on a fairly capable system with working graphics driver (Deepin is not known for being a lightweight Linux desktop) you’re good to go!
Contents
The Deepin Desktop Environment
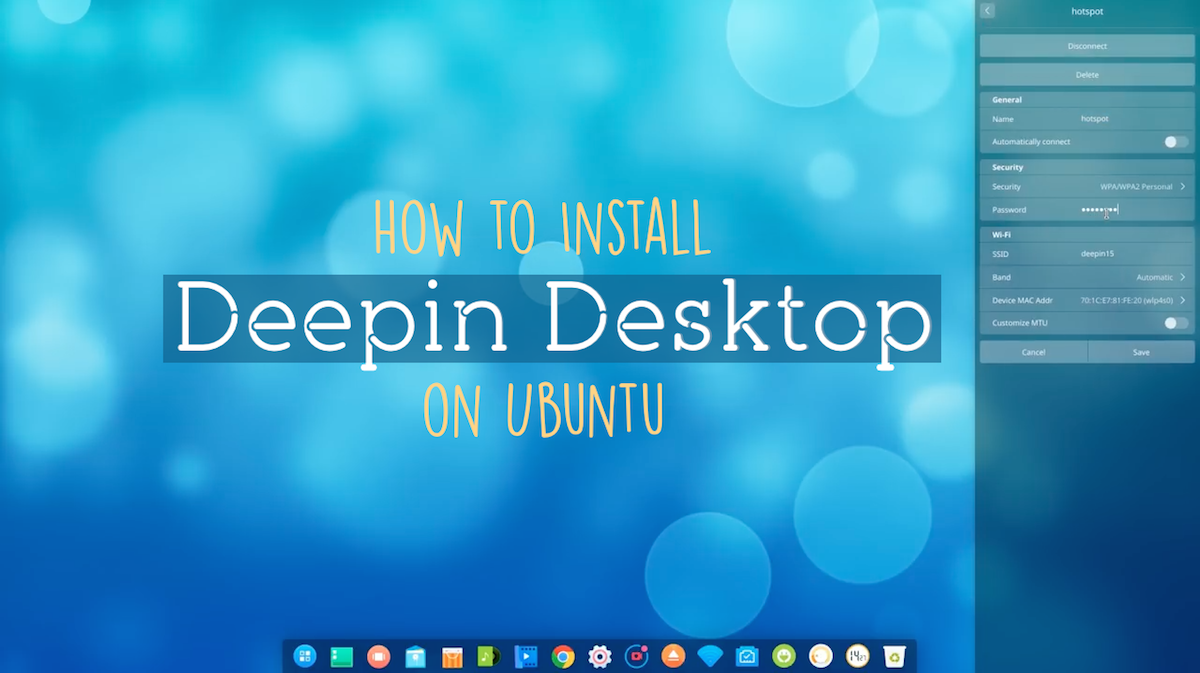
Deepin is the default desktop of (and indeed created specifically for) the Deepin Linux distribution developed by Chinese software company Deepin Ltd., (and also members of the Linux Foundation).
Deepin is an attractive, unique alternative to GNOME Shell, Cinnamon and other DEs
Deepin offers an attractive alternative to GNOME Shell, Cinnamon and Unity desktops.
It does a number of things differently when compared to a traditional Linux desktop. This results in a user experience which is uniquely its own.
Deepin is not a wholesale fork of another desktop environment (a la MATE) but is, like Budgie, a custom interface built atop common technologies. In this instance that’s Qt/C++ and Golang.
Deepin is more than just a desktop shell, too. An array of first-party apps have been created to use alongside it, ranging from a competent text editor and multi-tab terminal to a screen recorder, screenshot utility, and Microsoft Paint style drawing programme.
Sadly not all of these apps are available for Ubuntu (as of writing) but several are — and in the steps below we’ll show you how to get them.
How to Install Deepin Desktop on Ubuntu 18.04 LTS
Caveats
Before we show you the commands you need to run to install Deepin desktop on Ubuntu 18.04 or Linux Mint there are a few warnings, cautions, and caveats we need to get out of the way.
First, keep in mind that you are adding a third-party PPA to your system. This repository is not maintained by Deepin or by Ubuntu. It comes with risks and drawbacks.
No “official” support is offered for this PPA and packages may break, conflict or upgrade other parts of your desktop, including critical and core system files.
Finally, while you can install the Deepin desktop environment from a PPA on Ubuntu 18.04 LTS very easily please don’t mistake this as trivial. Be smart and make a backup of any important files or settings before you continue.
Although things shouldn’t go awry from following this guide, there’s always an outside chance.
Dive in to Deepin
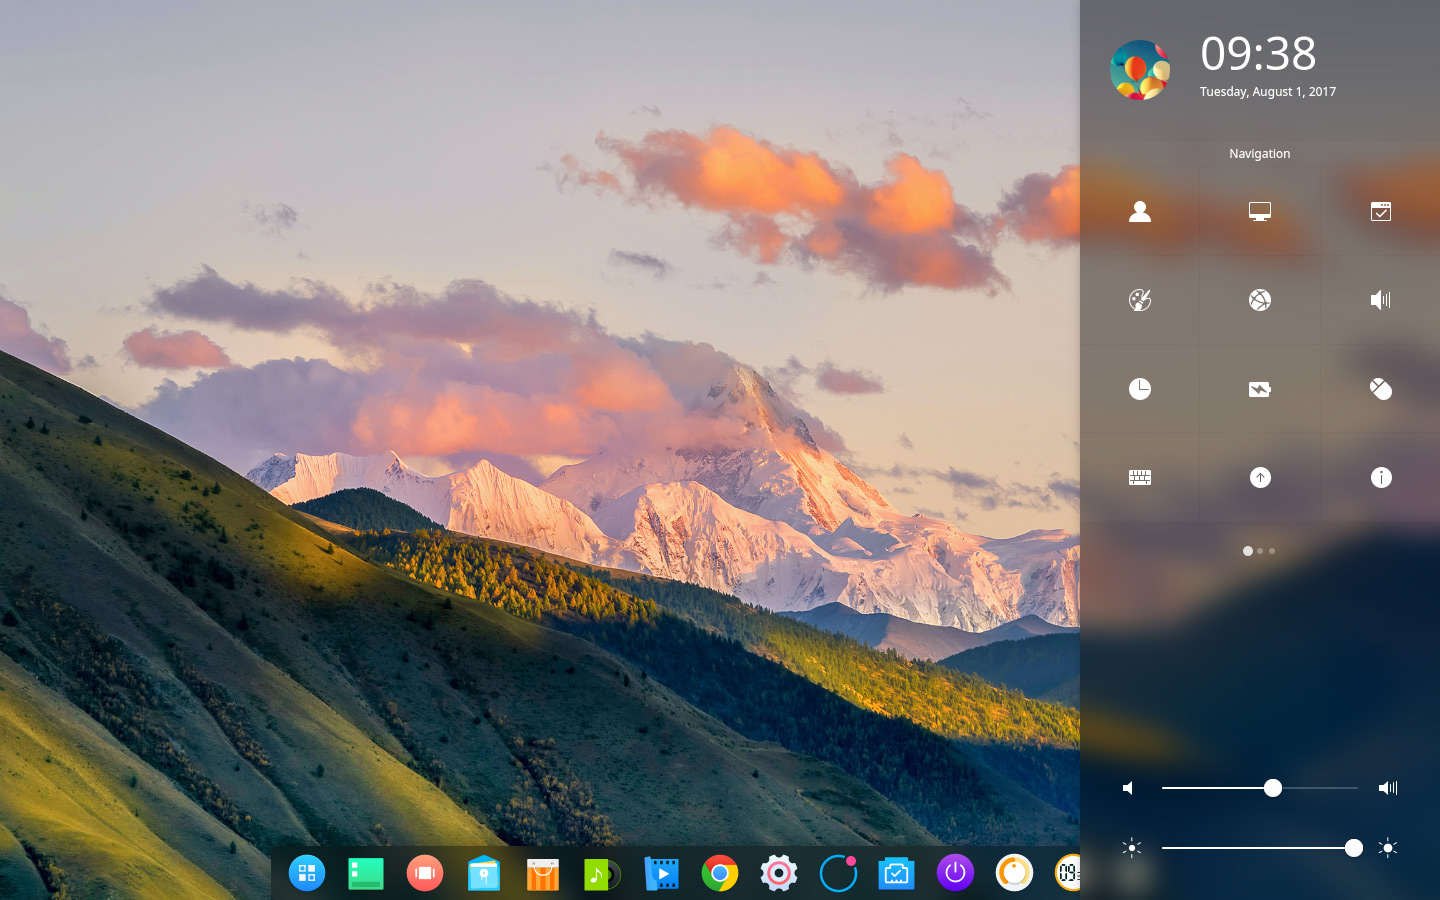
At the time of writing the most recent version of Deepin Desktop Environment available is 15.5. It will be a couple of weeks before the Deepin 15.6 release (and related parts) are packaged up in and made available through this PPA.
If you’re happy to continue then the first step is to add the Deepin desktop PPA for Ubuntu to your system sources.
To do this simply run the command line text below:
sudo add-apt-repository ppa:leaeasy/dde
Ubuntu 18.04 automatically refreshes the system package list after a new PPA is added. Only once this update is complete can you run the next command:
sudo apt install dde dde-file-manager
This is a meta-package that pulls in a stack of packages (including a large number of Qt packages as it is a Qt-based DE) listed. You should see a download total (around 150MB on my system) letting you know how much it will need to fetch, and how much space the packages will take up.
Once you’re happy to proceed just okay the prompt (hit ‘Y’ and enter). Ubuntu will go ahead and download, unpack and install the core Deepin desktop packages and dependencies on your system.
Not gonna lie: this part takes a bit of time — but do not fall asleep!
During the installation process you need to pay attention to the console because, at a certain point, you will be prompted to choose which display manager (aka login screen) you want to use. The install will not continue until you answer this step:
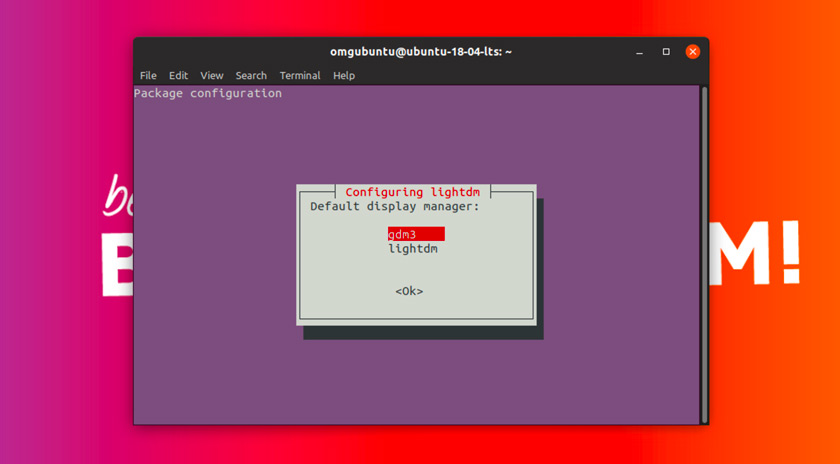
Deepin relies on LightDM to power its login and lock/unlock screens (“Deepin Greeter”) but you can (and indeed should) opt to keep the default as GDM.
Once whole install process is complete go ahead and log out of your current desktop session.
From the login screen (depending on which you chose) click the “cog” icon and select the “Deepin” session.
With a deep breath, login as normal.
You should be greeted by a Deepin splash screen. Click “ok” to be taken the desktop upon which you’ll see … a dock, and nothing else.
Click the Settings icon in the dock to open the Control Center:
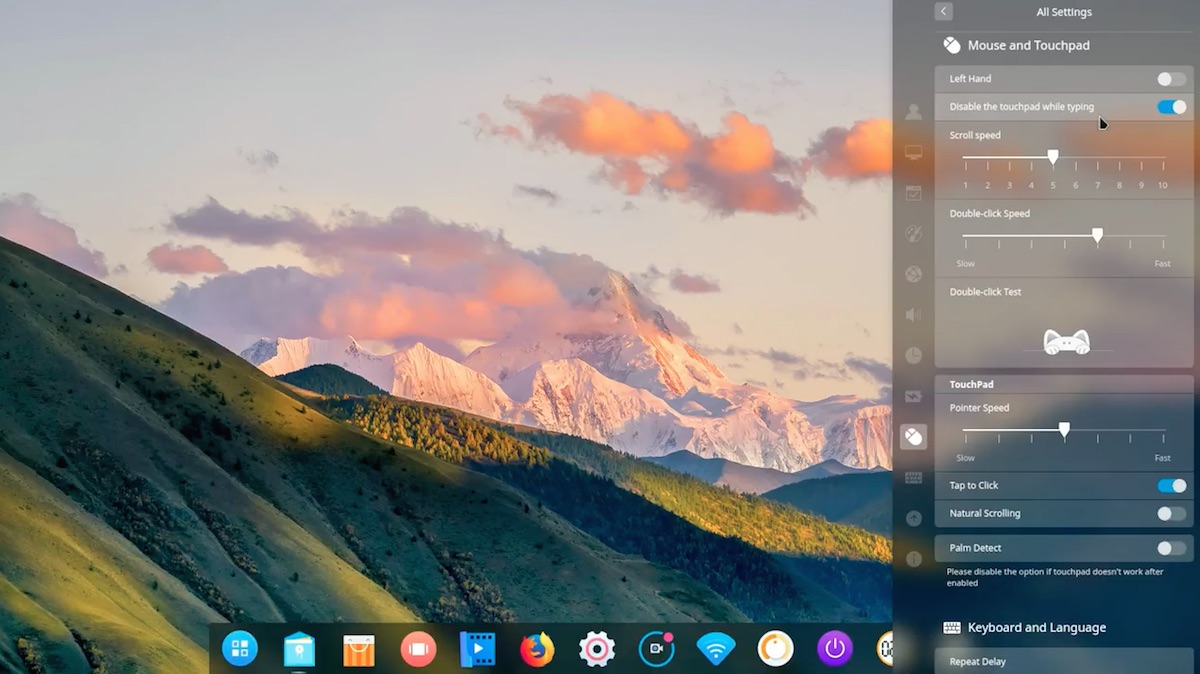
From here you can browse through your various system settings, change theme, try a different icon theme, and so on.
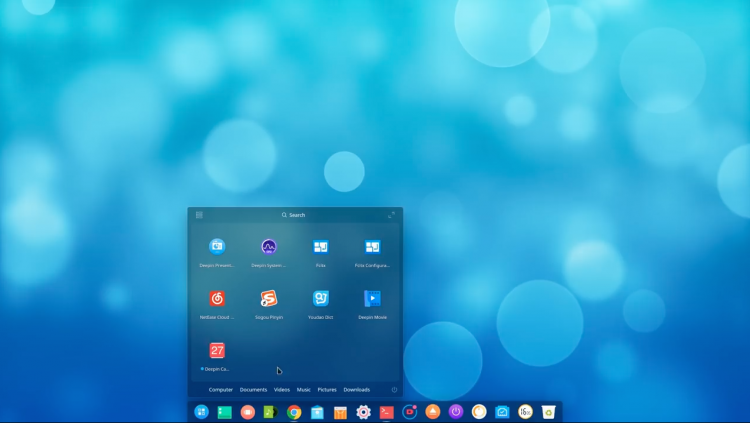
Click the “Launcher” button (the furtherest left) to open the app launcher. The Deepin launcher is full-screen by default and its icons are tiny. You can hold Ctrl and tap the + button to increase the size or, to shrink the launch down, click the expansion icon in the upper right corner.
You’ll notice that Deepin apps look great, but regular Ubuntu ones less so. To make GTK apps “look” the part in Deepin you’ll need to install the Deepin GTK theme:
sudo apt install deepin-gtk-theme
Once the Deepin GTK theme has been installed just open the Deepin Control Centre and head to Personalisation > Window Theme > Deepin/Deepin Dark to apply it.
Other than that, it’s up to you! Go explore your new desktop.
If you try this out do let us know what you think in the comments below, and do point out any issues you encounter so that people reading can learn from your experience.
How To
deepin
desktop environments
ppa

