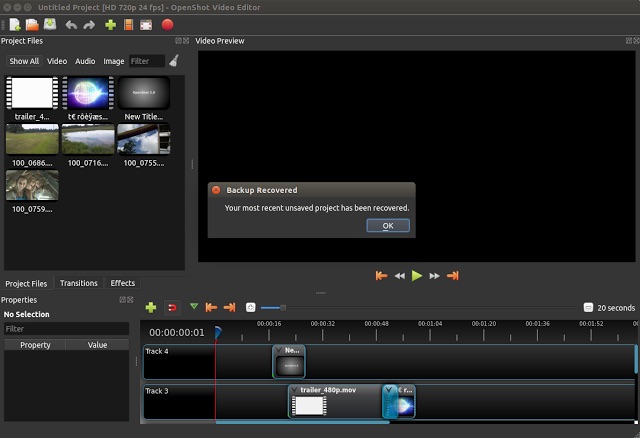
Yesterday saw an all-new release of popular open-source video editor OpenShot, which touts support for 4K video editing, performance improvements of up to 10x the previous release, and some natty new title templates.
Keen to try it? If so, you may be wondering how to install OpenShot 2.2 on Ubuntu 16.04 LTS or later.
Well, there are a couple of different ways.
1. Use the OpenShot App Image
An official OpenShot AppImage makes it easy to run the very latest release of the Qt-based video editor on Ubuntu without adding a PPA or installing any packages.
Instead, download the OpenShot 2.2 AppImage (it’s 220MB in size, so don’t do it while tethered), give the runtime permission to run, and then double-click on it to open the app — that’s all you need to do!
As AppImages run from whether you download them be sure to move it to a folder or location where you’re less likely to accidentally delete it. I keep mind in a folder called — unsurprisingly — “AppImages”.
2. Add the Stable OpenShot PPA
AppImages are a great way to test software but you may prefer the more traditional installation approach. For OpenShot on Ubuntu that means using the video editor’s official OpenShot stable PPA.
This provides the latest builds of OpenShot — v2.2 at the time of writing this — for Ubuntu 14.04 LTS, 16.04 LTS, 16.10 and (already) 17.04.
To add the PPA to your software sources you need to open a new Terminal and run this command:
sudo add-apt-repository ppa:openshot.developers/ppa
Next, refresh your package lists and install the app:
sudo apt update && sudo apt install openshot-qt
Finally, launch the app from the Unity Dash (or equivalent application launcher).


