Thanks to the graphical capabilities of the DirectX API, Microsoft Windows has established itself as the best operating system for gaming. But what should you do when this crucial component is not functioning properly on your computer?
DirectX had to be installed separately in earlier versions of Windows since it was often packaged along with games. These days, however, the process is supposed to be automatic, which makes finding a way to do it manually a bit tricky. To help you out, here are all the methods to reinstall DirectX on your Windows PC.

Contents
- 1 When Do You Need To Reinstall DirectX on Your Computer?
- 2 Method #1: Download the DirectX Installer
- 3 Method #2: Check for Windows Updates
- 4 Method #3: Disable Third-Party Apps and Services
- 5 Method #4: Run System File Checker in Command Prompt
- 6 What Is the Best Way To Reinstall DirectX on Windows 11/10?
When Do You Need To Reinstall DirectX on Your Computer?
By default, Windows 11/10 already includes the latest version of DirectX 12. Usually, this means that your PC remains up to date on any new drivers, giving you the best graphical performance on your hardware.
But it is sometimes possible to run into glitches. Maybe your Windows updates are paused. Perhaps the DirectX installation has gotten corrupted. Whatever the reason, if there are any graphical issues on your computer (such as in running video games), then the first thing to try is to reinstall DirectX.
Method #1: Download the DirectX Installer
While DirectX is installed and updated automatically, a standalone installer still exists. It can be used to manually add outdated DirectX modules on your computer without removing your existing DirectX installation.
- To get the DirectX End-User Runtime Web Installer, head to Microsoft’s official website. The installer is tiny, as the files required during installation are downloaded.
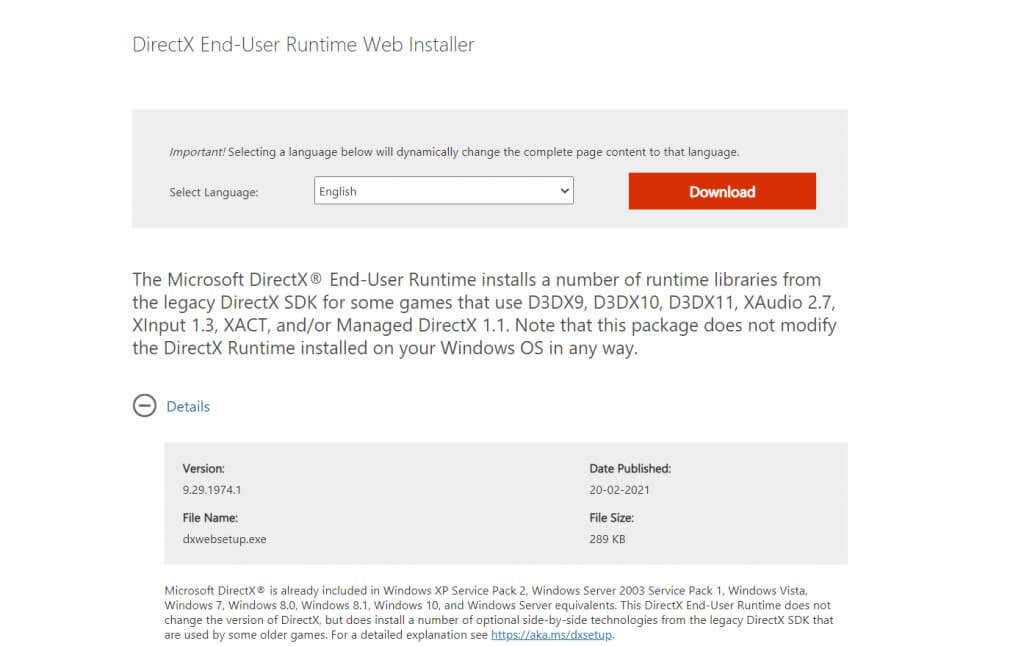
- Run this setup and accept the license agreement. Make sure you are still connected to the internet, as any modules that need to be installed will be retrieved now.
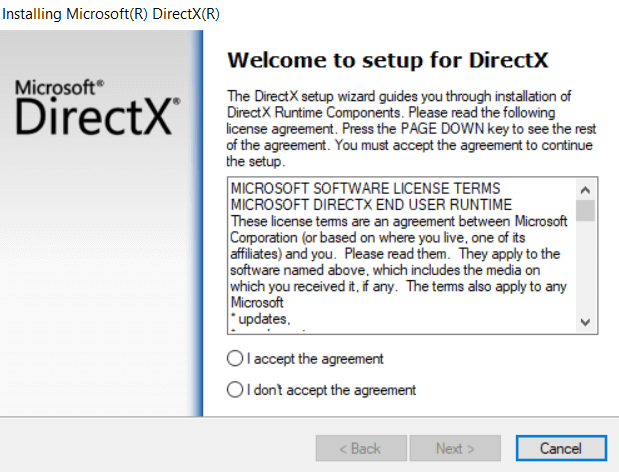
- Depending on the version of DirectX already installed, it can take anything between a few seconds to an hour. If your PC is not missing any DirectX components, the setup will exit without making any changes.
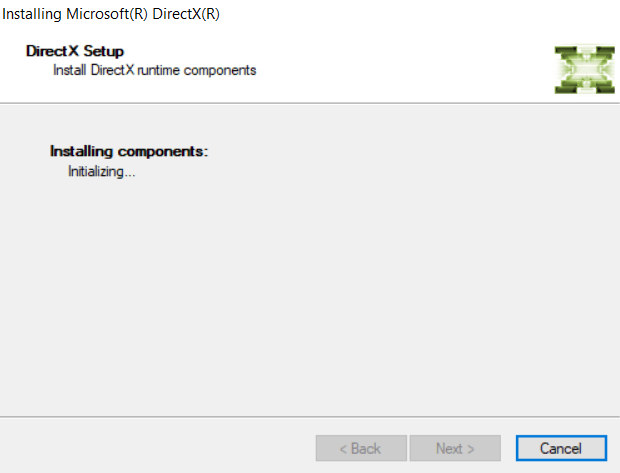
Using the official Windows installer is the recommended method for reinstalling DirectX on your system. You shouldn’t face any DirectX-related issues once the Runtime Installer has done its thing.
Method #2: Check for Windows Updates
As DirectX is included in Windows 11/10 by default, you don’t need to look for a standalone installer. Just staying updated is enough to ensure that your system is running the latest version of DirectX 12, as Windows updates include DirectX packages.
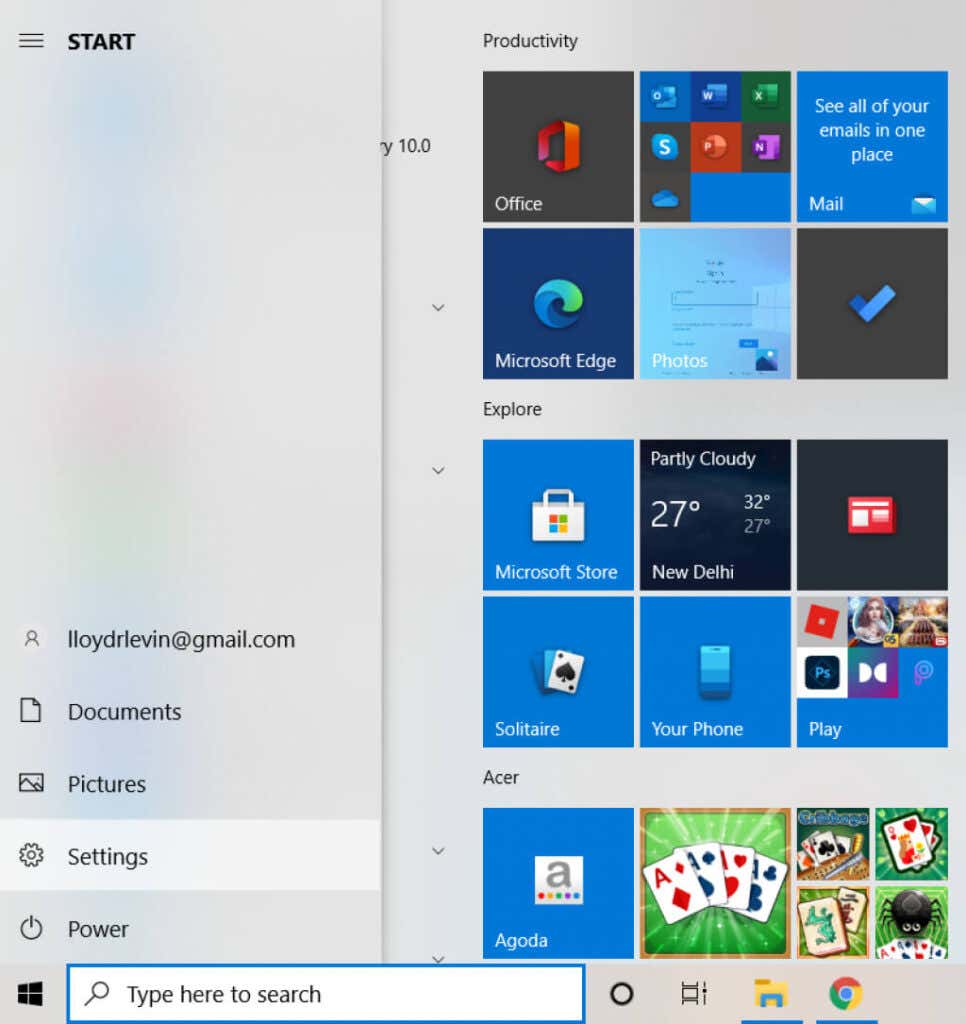
- To check for Windows Updates, head to the Start menu and open Settings.
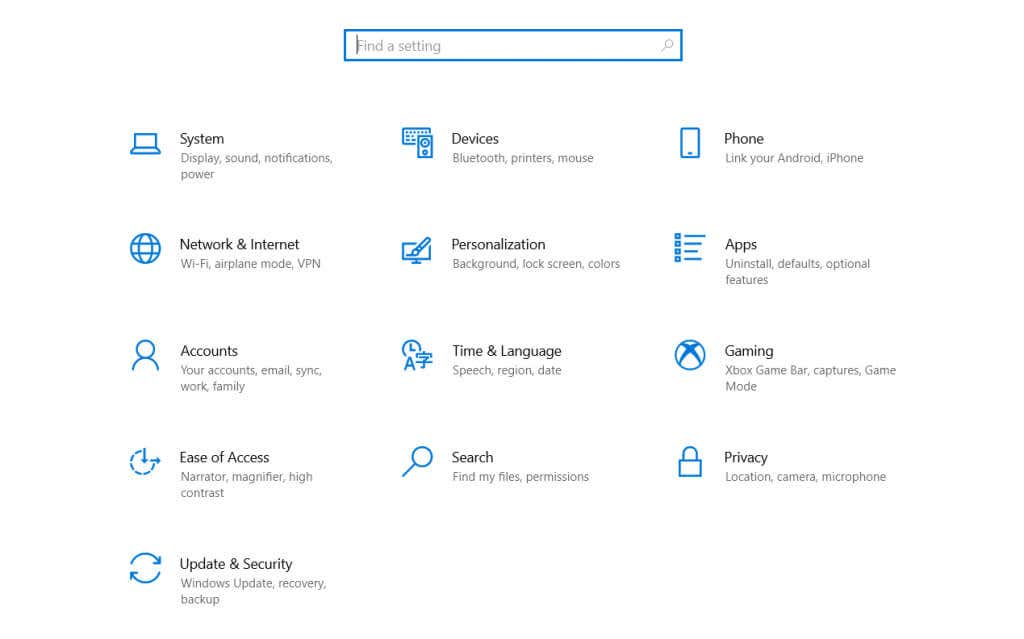
- In the window that appears, select Update & Security.
- The very first tab in this category of settings is the Windows Update. Use the Check for updates button to refresh Windows. If any updates are pending, Windows will now detect and install them.
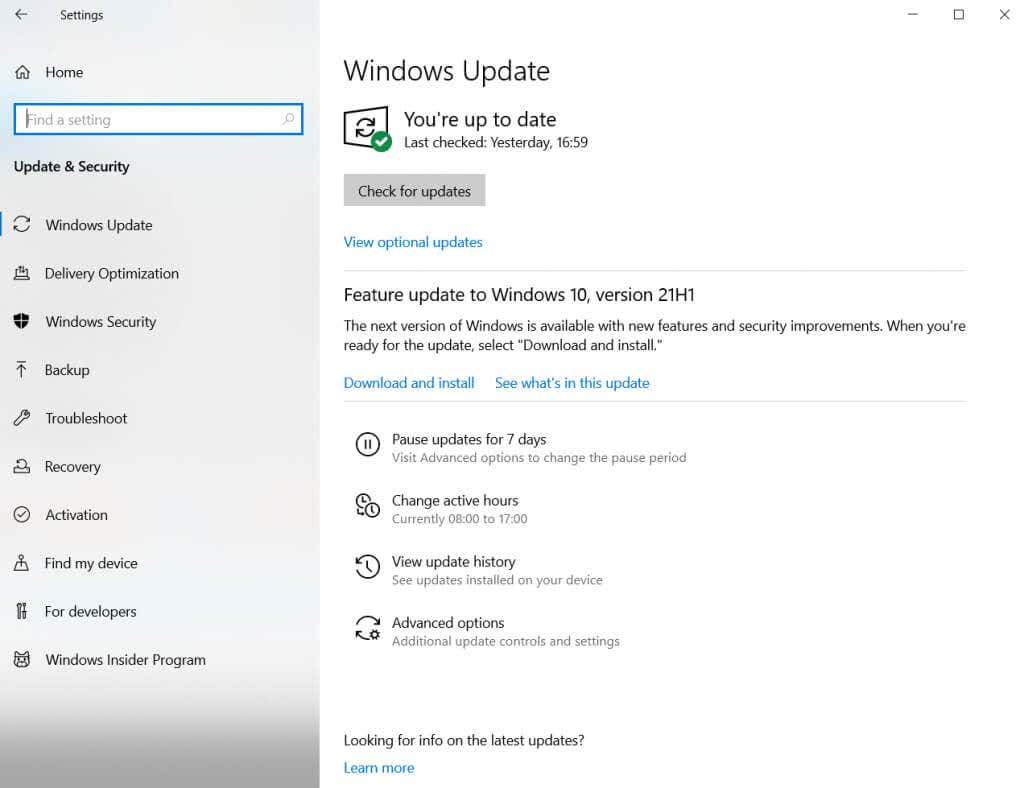
Once you are up-to-date with your Windows Updates, you don’t need to worry about reinstalling DirectX anymore. The operating system will automatically configure the DirectX modules to give you the latest possible version that your hardware can support.
Method #3: Disable Third-Party Apps and Services
In case the first two methods don’t work, it’s likely the problem lies elsewhere. Very rarely, a third-party application or service interferes with DirectX. This interference can cause DirectX issues even with the correct version installed on your computer.
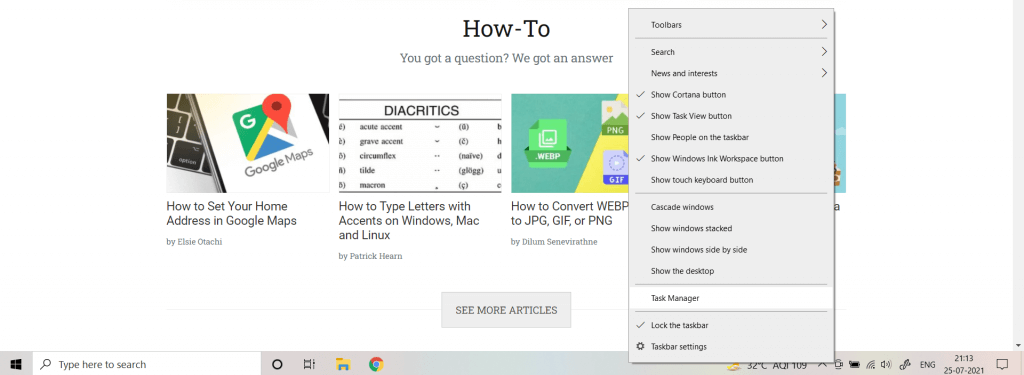
- To disable Startup Services, open the Task Manager. You can either use the Ctrl + Alt + Del keyboard shortcut or right-click on the Taskbar and select Task Manager from the menu.
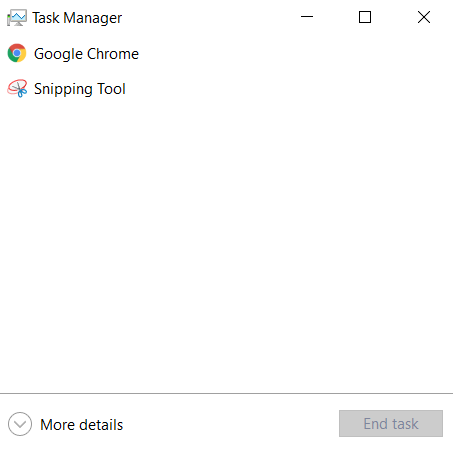
- If this is your first time opening Task Manager, you will only be able to see running applications rather than any services or processes. To get the full view, select More details.
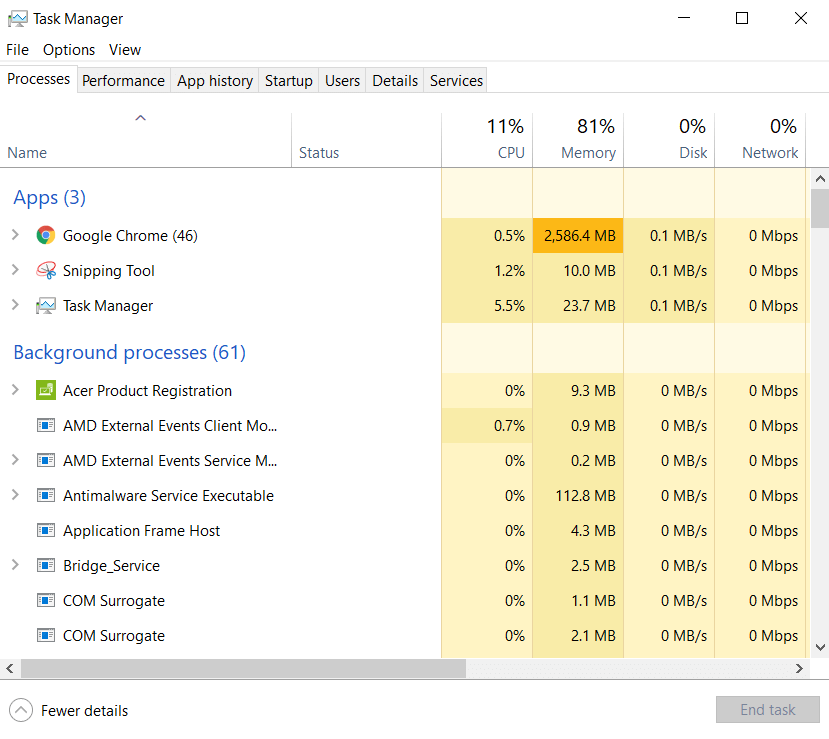
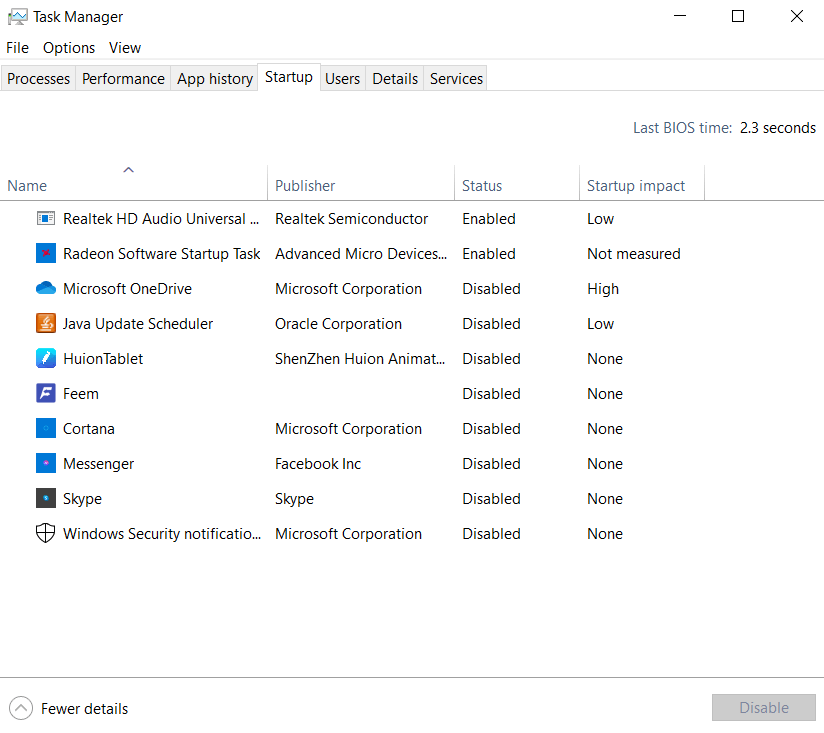
- Task Manager will now display every running task on your PC, including system processes or background tasks. Switch to the Startup tab.
- In the Startup tab is the list of all services run by default upon booting up your PC. Not only do these apps slow down your computer, but they can often cause conflicts with other more critical applications. Select all unnecessary services and select the Disable button.
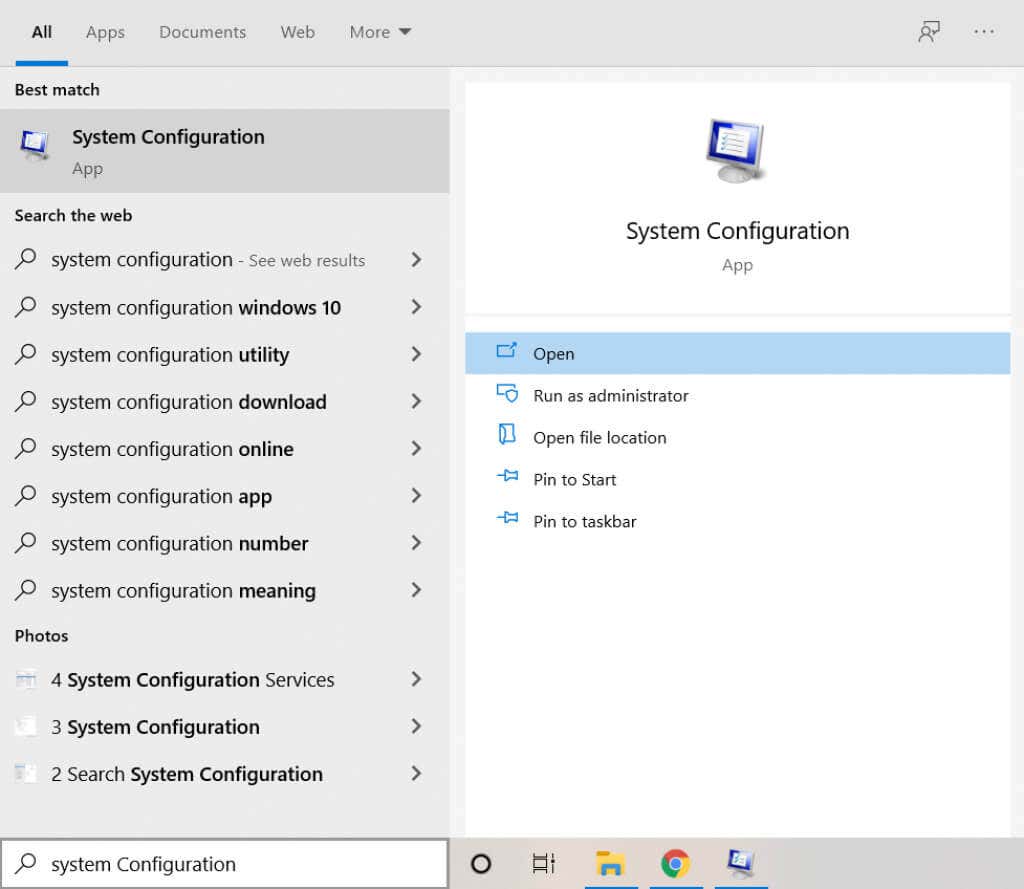
- Startup services aren’t the only resource-hogging applications running on your computer. There are plenty of services that do not show up in that list but keep running in the background anyway. To disable such tasks, open System Configuration by searching for it from the Start menu.
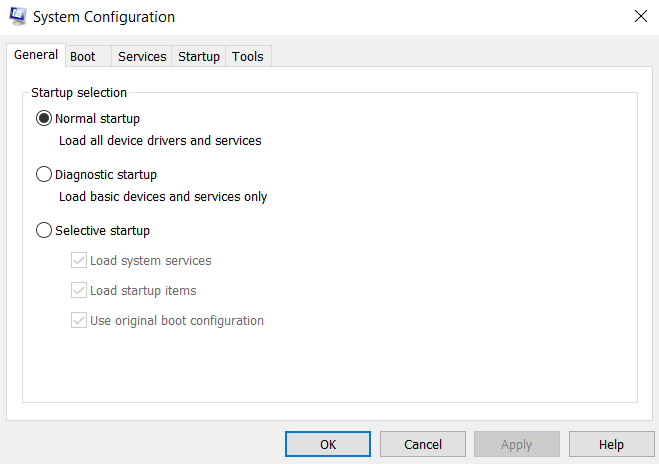
- The MSConfig system utility lets you configure the startup option on your computer and is much more detailed than the Task Manager. Note the Normal startup option on this screen; once you are done with diagnostics, you need to enable this to return things to normal. For now, select the Services tab to continue.
- All the background services running on your PC are listed here. This includes system processes as well, so enable the Hide all Microsoft services checkbox to remove them. Now you can use the Disable all button to shut down all these extra processes.
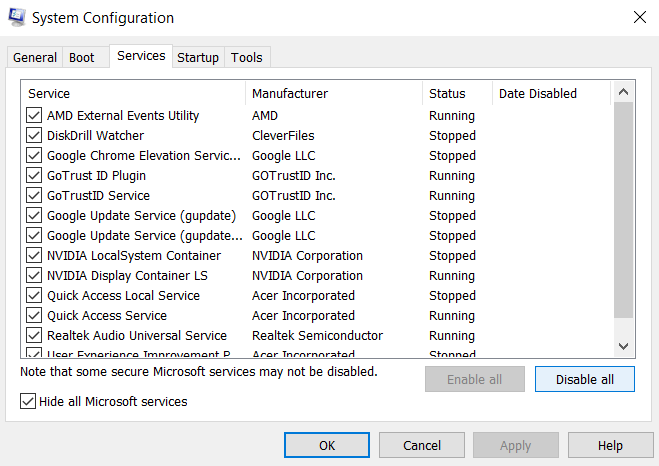
Note that this step is not permanent. Many of the services on this list, while not essential, are still somewhat useful and need to be working for the best performance of your computer. This only allows us to check if any third-party application might be interfering with your DirectX installation.
All you now need to do is to restart your PC and see if DirectX is functioning. If it is, then one of the services from the previous list is the culprit. We recommend enabling them one by one to find the offending application, after which you can uninstall or disable it.
Once done, remember to go back to the System Configuration app and select Normal startup to set things back to the default.
Method #4: Run System File Checker in Command Prompt
If you’ve installed DirectX correctly, updated your computer, and even checked for any conflicting services, the only possibility remaining is data corruption. Corrupted drivers and system files can often throw weird errors and can be hard to diagnose.
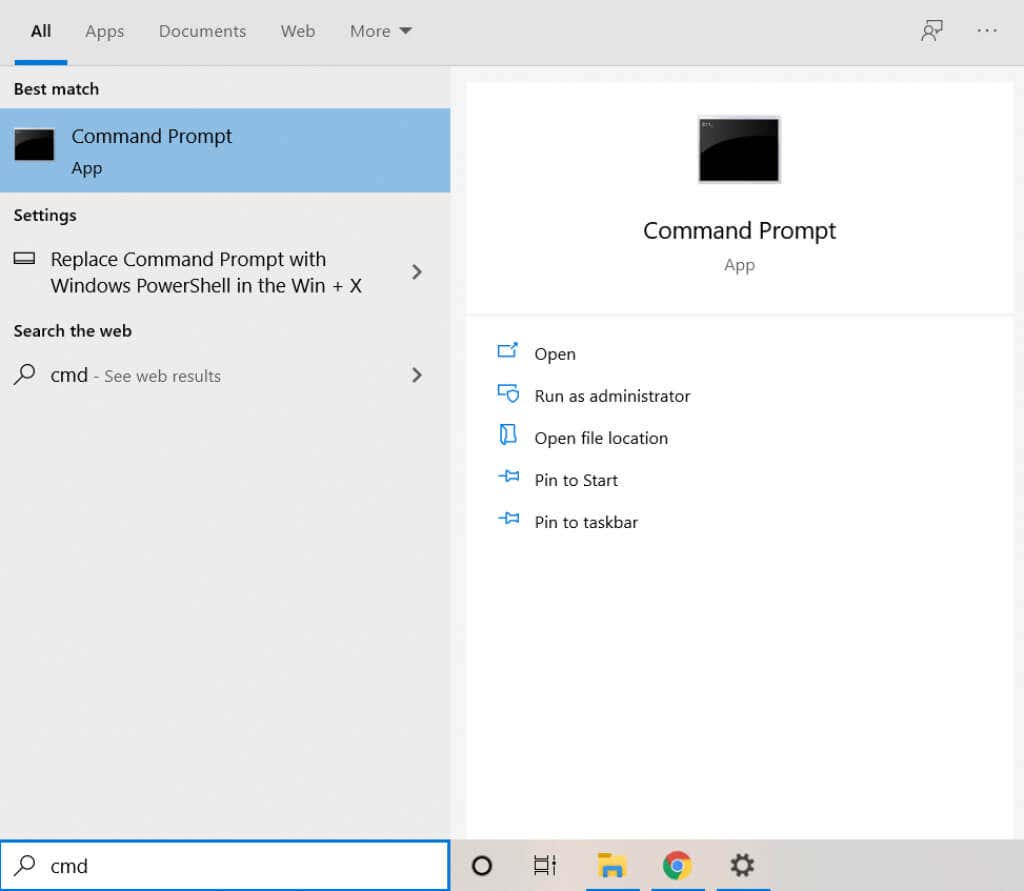
- To find and fix any corrupted system files on your computer, open Command Prompt as an administrator. Just type cmd in the Search box to find the application.
- We will be using a command prompt utility called System File Checker. As the name suggests, it checks all system files for any data corruption, fixing the affected files. Enter the command sfc /scannow to run the tool.

- System File Checker will now scan your Windows installation and verify the integrity of each file. Once the scan is complete, all your system files have been checked and repaired.

What Is the Best Way To Reinstall DirectX on Windows 11/10?
Since DirectX is an integral component of Windows 11/10, you usually don’t have to worry about installing it yourself. Instead, windows updates will patch DirectX issues automatically, leaving you free to play games and run other graphical applications.
But in case your computer shows issues with the DirectX, it wouldn’t be a bad idea to reinstall it manually. You can use Microsoft’s standalone installer for this purpose or just ensure that your Windows Updates are not being stalled.
When installing DirectX is not the issue, you should check for conflicting applications and system corruption. Fixing these things ensures that DirectX will run smoothly on your Windows computer.


