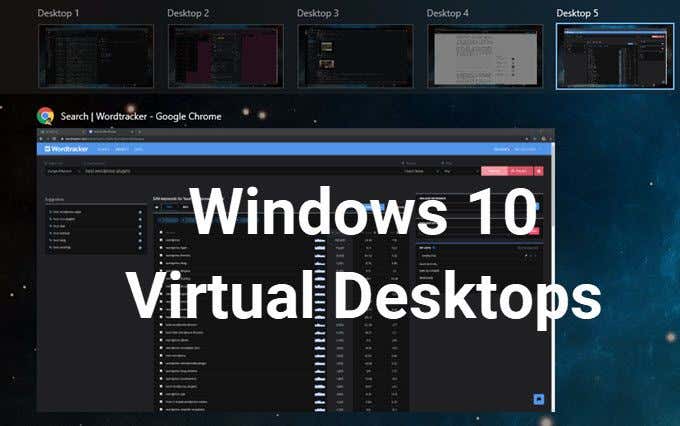
Windows 10 has a built-in feature enabling users to not only connect two or more computers to one monitor but to also create multiple virtual desktops. Each one will display different applications, programs and windows enabling plenty of multi-tasking.
It’s great for people who want to keep their personal and business apps and data separate, for dedicating space to specific tasks and in organizing groups of related jobs.

This article will explain how to:
- Create a new virtual desktop.
- Switch between desktops.
- Work with apps and windows on virtual desktops.
- Close virtual desktop windows.
- Customize multiple desktops.
Contents
Create a New Virtual Desktop in Windows 10
- In your taskbar, look for the Task View button and click on it.

- In the image above, it is the icon next to the search bar. If you don’t see the Task View button, right-click on any open space on the taskbar and select Show Task View button to turn it on.
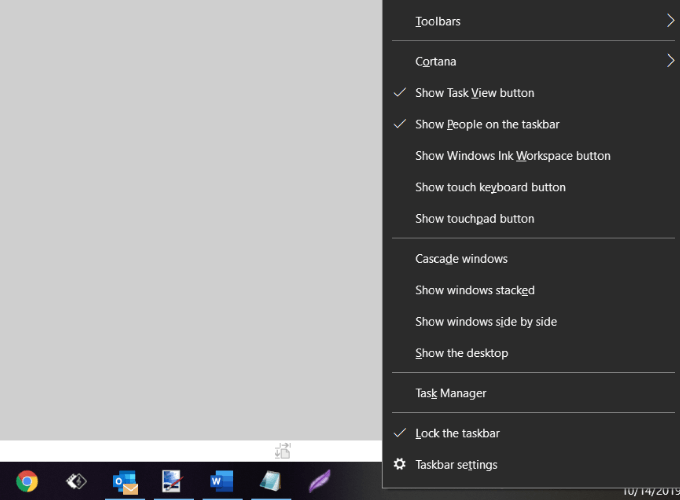
- You can also use the shortcut by holding down the Windows key + Tab.
- When you open Task View, you will see all the apps running on your computer. Switch to an app by clicking on it.
- Add a new desktop by clicking the New Desktop button located on the bottom right-hand corner of your screen.
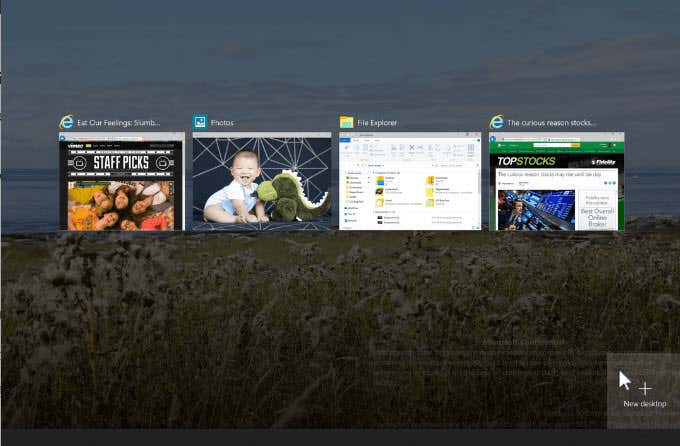
- The task view pane will show all your open programs arranged in rectangles across the screen.
You can create as many virtual desktops in Windows 10 as you want. However, don’t create too many or you may lose control and be unable to keep your activities organized.
Switch Between Desktops
After adding additional desktops, the Task View will show them all at the top of your screen.
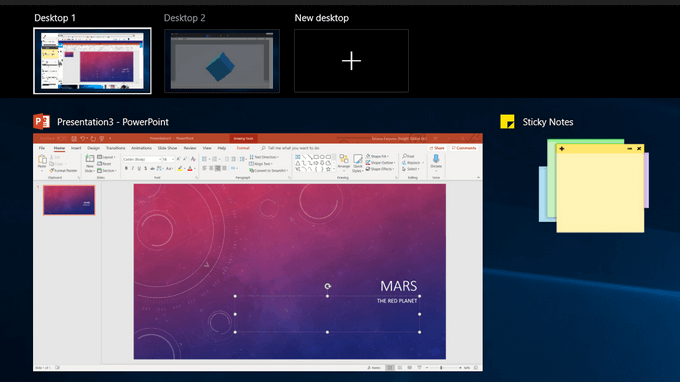
Below are several ways to switch from one desktop to another:
- If you are already on Task View, select the Desktop you want to use by clicking on it.
- Use your keyboard by pressing the Windows key + Tab. This will bring up the Task View. Click on the desktop you want to use. Move from screen to screen by using the Tab key.
- To switch between desktops without using the Task View, hold down the Windows and Ctrl keys and click either the left or right arrow key to scroll through the open desktops.
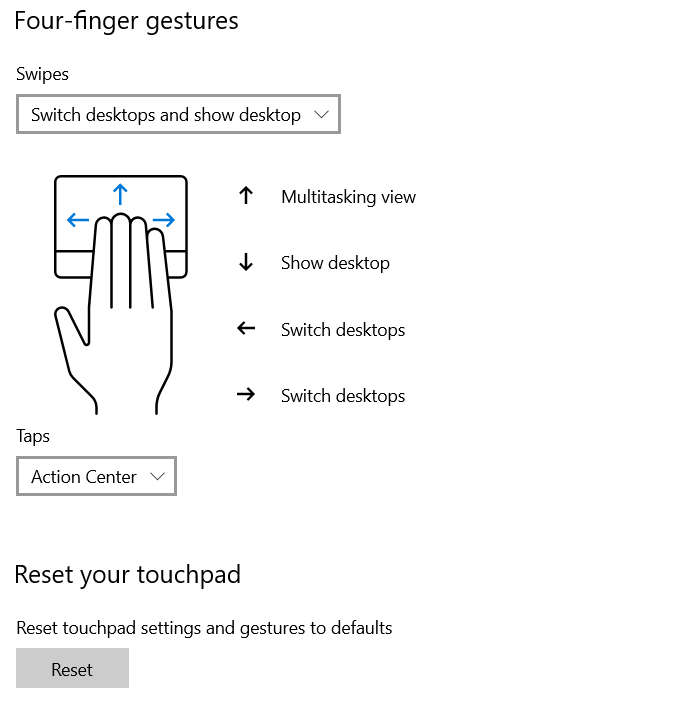
- Precision touchpads or touch screen device users can move from one desktop to another with the four-fingered swipe.
Work With Apps & Windows On Virtual Desktops
If you have created a new virtual desktop that you don’t want to use, click on the X at the top of the virtual desktop to delete it.
Now that you have created new desktops, how do you populate them with the applications and programs you need?
You can open different programs on every virtual desktop you create in Windows 10. If you open an app or window in one desktop, it will stay open and remain on that desktop. Some apps, such as Microsoft Word or Chrome, will let you open different windows on different desktops.
However, other apps (such as the Windows Store app) will only allow you to use them on one window at a time. For those apps, if you have it running on Desktop 1 and try to open it in Desktop 2, you will be jumped back to Desktop 1 where the app is running.
This can be inconvenient. Your only option is to look at your Task View to find where the app was installed.
You can move an open window from one desktop to another by following the steps below:
- Navigate to the desktop where the window is open.
- Click the Task View button or use the keyboard shortcut Windows key + Tab.
- Right-click on the window you want to move.
- Choose the Move to option.
- This will open a list of all the desktops on your computer.
- Select the desktop where you want to move the window, and it will be moved.
Close Virtual Desktop Windows
Having several virtual desktops on your Windows 10 computer is very helpful. However, depending upon your hardware and how many you have open at once, your system’s performance could be negatively affected.
Use the shortcut Windows key + Ctrl + F4 to close a virtual desktop. Repeat the shortcut to close more or all of the remaining desktops.
Customize Multiple Desktops
To manage the view of a virtual desktop, right-click on any open window.
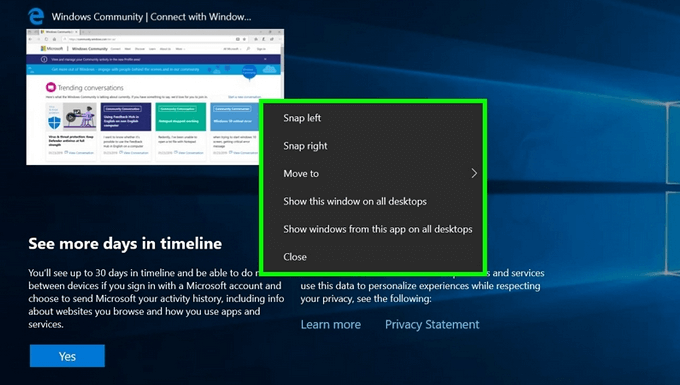
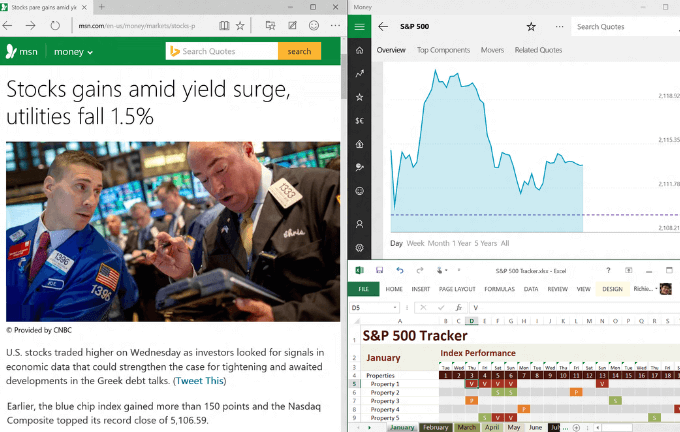
If you want to affix a desktop to the left or right-hand side of your screen, you can use snap options from Snap Assist to organize your screens with two windows side-by-side.
- Use the keyboard shortcut by holding down the Windows Key and pressing either the left or right arrow key.
- Snap Assist will move the active window to the direction you choose.
- The other half of the screen will show all your other open windows.
- Click on the window you want on the other side of your screen.
Use multiple virtual desktops as temporary workspaces in Windows 10 to stay productive and organized. For example, rather than switching between PowerPoint, a browser, and a music app, putting them on different desktops makes it easier to move between them. You also don’t have to minimize and maximize each program while you use another.

